Showing posts with label accessories. Show all posts

01 November 2011

Super Easy Headband

Bad hair day? Wake up with crazy bangs? Run out of time to wash your hair? Yeah, me too (hopefully not all three on the same day, but I can't say it's never happened). So I whipped up this headband to hide my hair. And it really couldn't be faster. I think it took me about 3 minutes. Faster than you could buy one at the store really.
Measure your head around where the headband would be (in other words, don't measure it like you're buying a hat because that won't help you). Mine was about 22". Find some knit fabric. I have some that's a little lighter and stretchier than a tshirt, but I'm sure a tshirt would work.

While holding the tape measure at 22" grab the fabric in two spots and see if it will stretch to 22".  I was going to take pictures of this but I don't have three hands, so pictures of me holding/measuring the fabric are pretty impossible. Here's kinda what you do with a paint picture:
Example: Hold the end of the fabric and tape measure; also hold fabric about 16" out and the tape measure at 22". Stretch the fabric until the tape measure is taught. Make sense? Hope so because I'm out of ideas for explaining/illustrating.

Cut a rectangle out. Mine ended up being 5" x 16". (Keep in mind my knit was stretchier than a tshirt, so if you're using a tshirt you might need it to be longer)
Sew the short ends together.
This is what it looks like after you sew.
And this is what it looks like turned right side out.
No, this one is not for my head. It's for a much smaller baby head. But it still stretches a lot, see?
(just ignore my leg in the picture, I was running into the whole not having three hands problem again)
Put it on your head (or somebody else's head).

And you're done. No need to sew up the edges because knit fabric won't fray. I see more knit headbands in my future! What's your solution for bad hair days?
post signature

10 October 2011

Beaded Leather Wrap Bracelet

In case you missed my guest post at Sweet Bella Roos last week...here's my latest project! Ok not technically my latest, my latest is actually sewing new ranks on Hubs' uniforms (way to go Hubs!)...good thing I brought my sewing machine in the car with me!

Have you seen these bracelets around recently?
I may have pinned one or two or five. But obviously I wasn't going to pay $30 for something that seemed so easy to make. (Key word there is "seemed")

So I set out to make my own. Michael's had a tutorial online for one and I looked at it basically to get a supply list then I figured the rest out as I went along.
Here's what you'll need:
  • 4mm or 6mm beads (I used 6mm)
  • Round leader cord (two 30" pieces for wrapping twice around, I had several extra inches at the end but I also have tiny wrists)
  • Large-ish button
  • Beading thread (whatever that is, or you could use beading wire...seems like that might be easier)
  • Needle that's meant for threading jewelry (trust me on this one)
Photobucket
And that's why you need a needle for jewelry making. I thought I could just use one of my sewing needles, but when I found a needle big enough for the beading thread it was too big to fit through the bead. I made a makeshift "needle" using a piece of picture hanging wire. It was flexible, so that big loop squished down to be basically flat after I went through the first bead.

I threaded the button onto the leather cord first to get it out of the way. How you attach it will depend on how many holes your button has. Mine had four so I did this (I outlined the two different pieces in green and blue so it's a little easier to see):
Photobucket
Then you're going to make a knot. I tied the end piece to the long piece on each side, then tied both long pieces together. I found that it was helpful to have something holding the leather pieces in place, so you have one less thing to mess with. I used this for a while, but I think it would be even easier if you could secure both ends somehow.
The next (million) steps are where it gets a little dicey. Cut off a pretty good length of thread (20 inches or so, you want to be able to get lots of beads on with it but you don't want it to be so long that it's constantly in the way). Tie a knot in the end of the thread and put your first bead on.
I'm going to try to illustrate the threading process because taking picture while I was doing it was way harder than I could handle didn't show the steps very well.
So here's what it looks like without all the arrows (that little red blob at the beginning is the knot by the way):
Now what's a girl to do when she runs out of thread? Good question. Tie your thread off. I made a knot around one of the leader cords. Then cut some new thread to work with. I made a couple knots around the thread of the previous bead to attach it. You could attach it straight to the cord probably but I didn't want it sliding down.
Now this whole thing might seem a little overwhelming. And at first it is. But around the time you think you won't finish until next Christmas you'll start to get the hang of it and find a way to thread the beads that's slightly more efficient than the sloppy way you started. Or maybe that's just me (mine did not start off well).

Once you get to the length you want (or close to it...my loop adds an inch to the overall length) you'll need to make a loop to go over the button. I'm going to send you to another site for tips on knots because I can't remember exactly what I did and I'm pretty sure it's not even a real knot they already have nice illustrations and even animations of knots. I would suggest the figure eight or maybe the yosemite bowline.
So there you go. Perfect for gifts or yourself! I think I spent less than $10 and I had plenty of cord and thread left for at least one more bracelet. Much nicer than $30 bucks plus shipping, right?
Also, I am clearly not qualified to be a hand/wrist model so please forgive the next few awkwardly posed shots. :)
post signature

24 June 2011

Book Tote

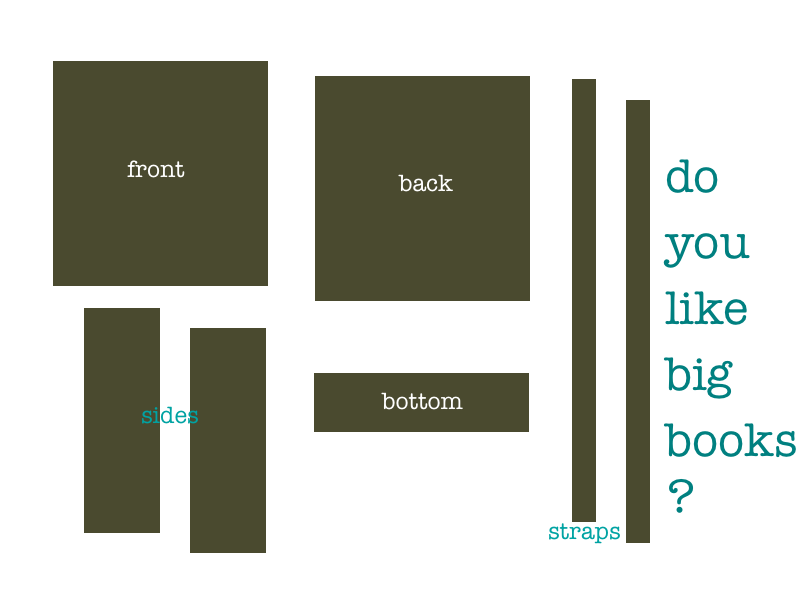
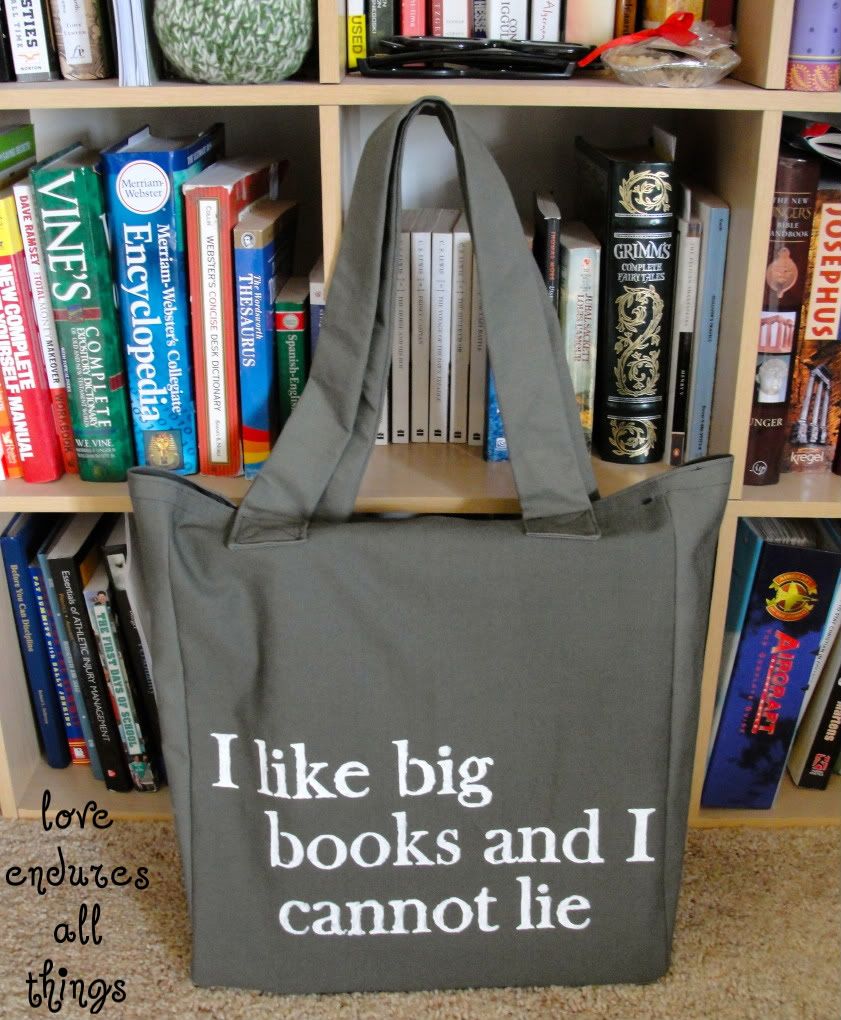
I won't tell you how long this has been no the couch with only one strap. I started to wonder if it could work with only one strap, but I suppose a tote for large books with only one strap is a bit impractical. So I sewed on...eventually.
I saw this idea somewhere on Pinterest, but neglected to pin it so I don't know who thought of this. Props to you, whoever you are, because even Hubs jumped on this idea. I picked up some sale canvas-y thick fabric (I really have no idea what it is since it wasn't on a bolt, but I do know it does not iron well, which helps explain the wrinkles). This was pretty simple to put together.
The tricky part was the words. I probably could've finished in no time with a Silhouette, but alas I don't have one. I printed the words out on cardstock then cut them out with an exacto knife. It seemed like that part took forever, but I finished eventually. Next I painted in the stencil with puff paint, but I kind of spread the paint out so it wasn't really puffy when it dried. I didn't use a brush, just the paint bottle so it isn't completely uniform.

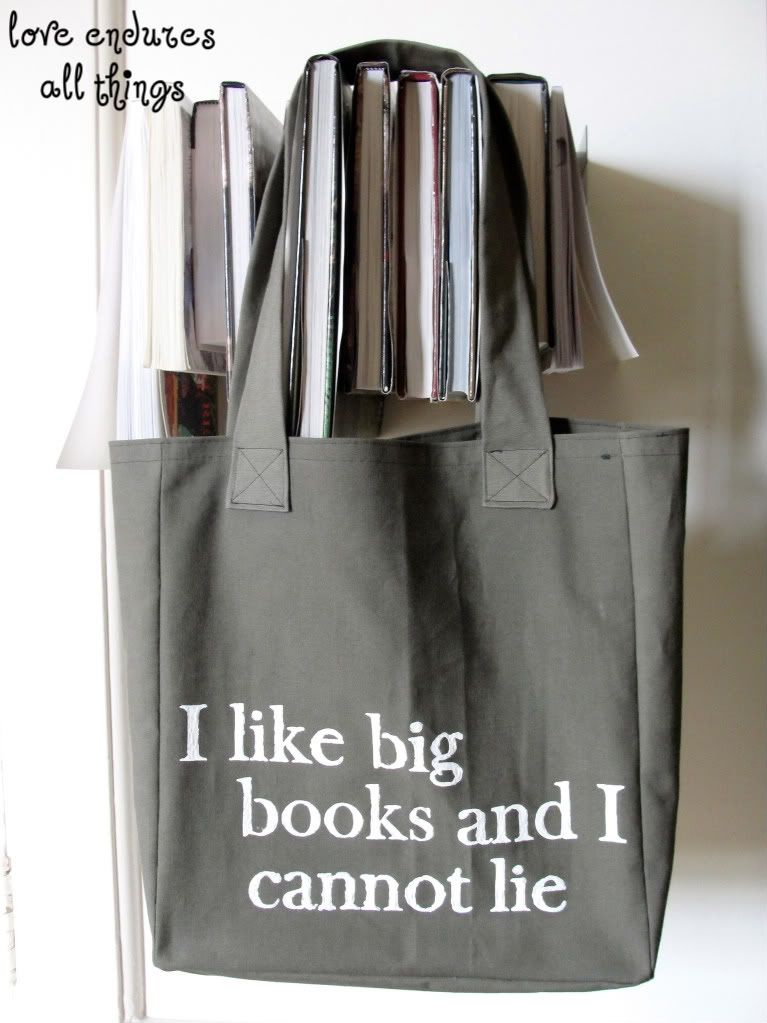
I let that dry for...mmm....not sure, but possibly overnight? I spent too long cutting out letters and painting in stencils to risk any smears. Then I sewed all the pieces together, except for the last remaining strap. That can remain unsewn for many days. : ) You can see I wanted to make the straps extra sturdy so I sewed them on in pretty much every direction.
I'll leave you with some pictures and inevitably a song stuck in your head...You're welcome for that. : )
And the big book tote hanging on big books:
This is my "wow this book is getting heavy, I wish I could just take a good picture already" face (the bag was full of books too by the way).
In case you're wondering, although I'm pretty sure you weren't, that Animal book I'm holding was my sole source of entertainment when we first moved here. I had no internet, no tv, no furniture (and Hubs wasn't even living at home). Just a borrowed air mattress, a fleece blanket and the animal book that we bought when we got here. Pretty sure I flipped through the whole thing! Haha. Note to self - pack dvds in the car next time we move!

I hope you like the bag, I couldn't resist making it once I saw the idea! And I guess I should point out that we do go to the library on a semi-regular basis and come home with a big stack of books so this will come in handy for us. Thanks for reading!
post signature

14 June 2011

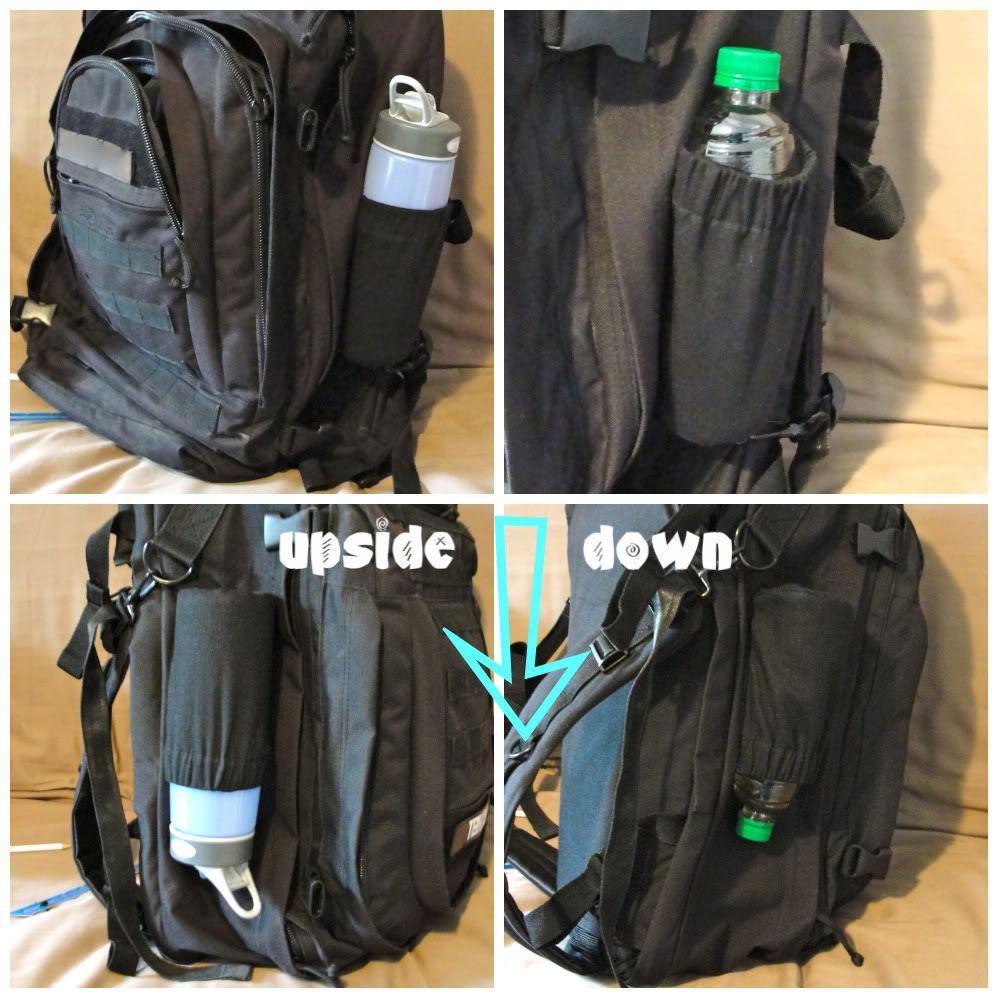
Water Bottle Pockets

Well, Hubs has figured out what this whole sewing thing can mean for him. I don't like the elastic in my workout pants...no problem, my wife can sew! I want my too short pants turned into shorts...no problem, my wife can sew! There aren't any drink pockets on my favorite backpacks...you get the picture.
Not that I mind lending my sewing skills. It's kind of nice because if you haven't noticed, most sewing projects are more cute than manly. So this week's project was adding water bottle pockets to two of his backpacks. We end up always carrying my backpack when we go on hikes because its the only one with pockets for our drinks, but I think Hubs prefers his backpack.

I've done all of the figuring for a Camelback water bottle (picture below), so if you happen to have one and you happen to have a backpack in need of another pocket, you're in luck! You'll need some backpack-ish fabric (1/4 yard is plenty), elastic...and I guess that's about it other than thread and my super-helpful instructions (that's the blue sticky note).
This assumes you have a 3 1/2" wide section on your backpack to work with. Rectangle should be 7 3/4" tall and 7" wide. The diameter of the circle is 3 1/2" and I cut a straight line across it so it would be easier to attach to the backpack. The elastic should be about 4 1/8" or 4 1/4" long. You could definitely go longer, but I wanted it to be able to hold smaller plastic bottles as well.

First, fold over the top of the rectangle to allow a gap for the elastic. Pin it down and sew across.
Feed the elastic through.
Make sure you pin the end when it gets close otherwise you'll end up with the elastic floating around in the middle and that won't do you much good.
Now you can sew the ends so the elastic stays in place. This side has been sewn, but since I used black thread I highlighted it for you.
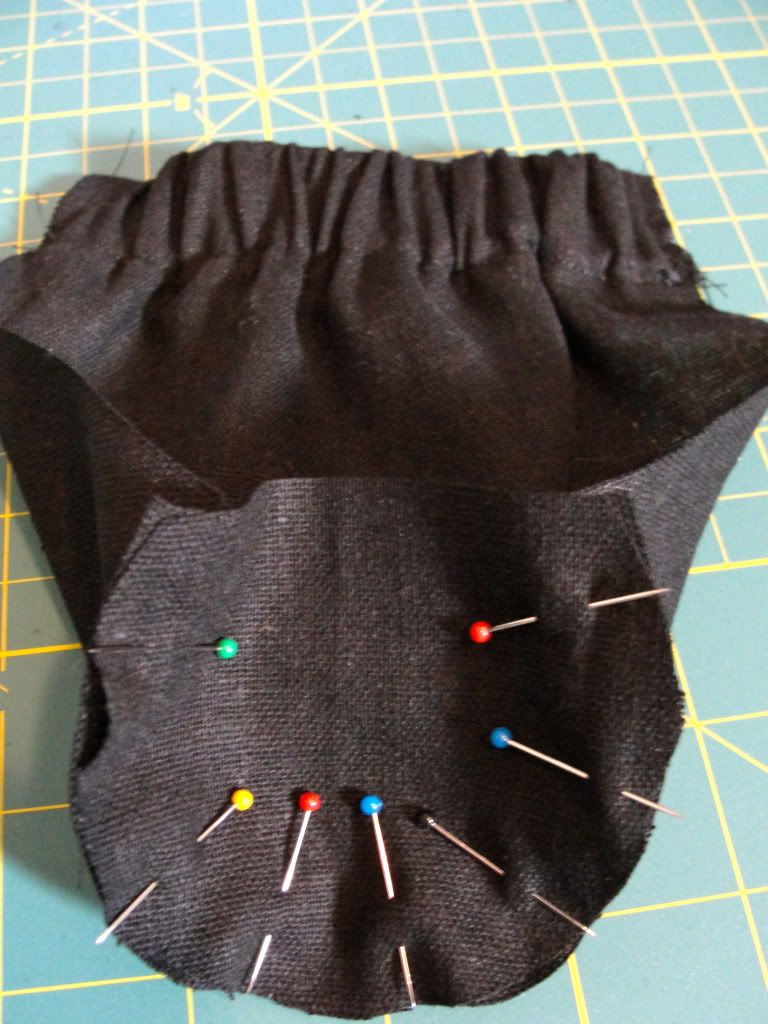
Alright, now you're going to pin the circular piece to the rectangle. Pin it to the finished side (the one that will be on the outside) of the holder.
I didn't cut things with a very big seam allowance in mind, so I had less than 1/4" seam allowance. After it's attached it's looking kind of like this.
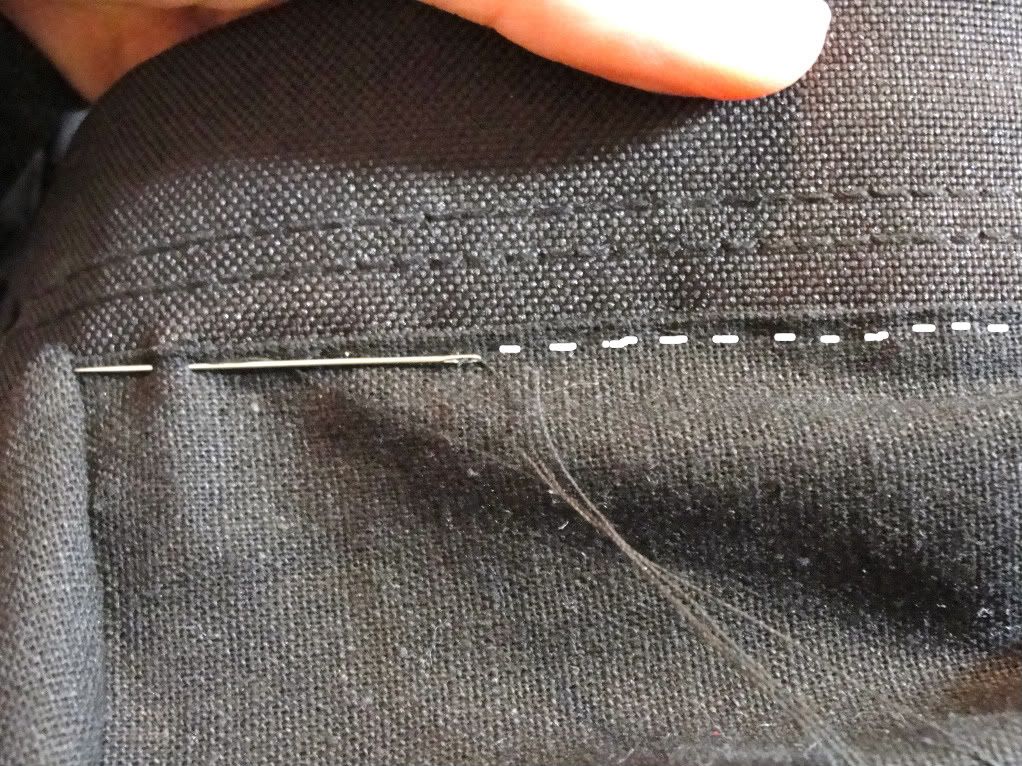
Now for the challenge - attaching it to the backpack. I marked off where I wanted it to go with a white marking pencil. Should be 3 1/2" between each side at the top and it will taper a little bit toward the bottom. I hate to do this to you, but you're just going to have to figure out what stitch is easiest for you and go for it. This is the second one I've done and I was way more frustrated with this attempt. This backpack was pretty thick so I was having more trouble.
Make sure you tuck the unfinished edges under so everything looks clean. After you go around the three sides you may want to go over the top inch or so again on each side. My first attempt already needed a repair because the thread at the top stretched way out (don't worry, I added some length to the elastic for this version and it made a big difference in the ease of getting the bottle in and out).
So it holds a larger Camelback bottle as well as smaller plastic bottles. Aaaand they don't even fall out when they're upside down thanks to the elastic! Have you had any weird sewing/modification requests?
post signature

08 May 2011

I'm back

Please excuse my bloggy break last week. We were visiting family, so I let blogging slip to the back burner for the week. Since I didn't make much while we were gone, I thought I'd share a couple things I made recently and haven't shared yet. Although I did pack some fabric and even contemplated bringing my own sewing scissors. Hah, am I going crazy? Maybe.

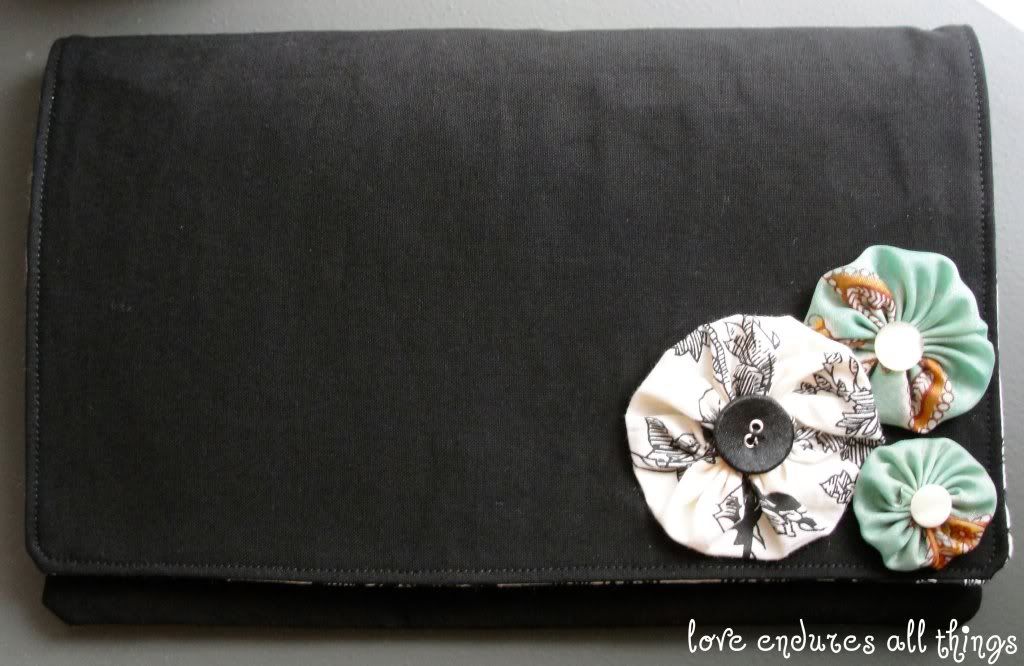
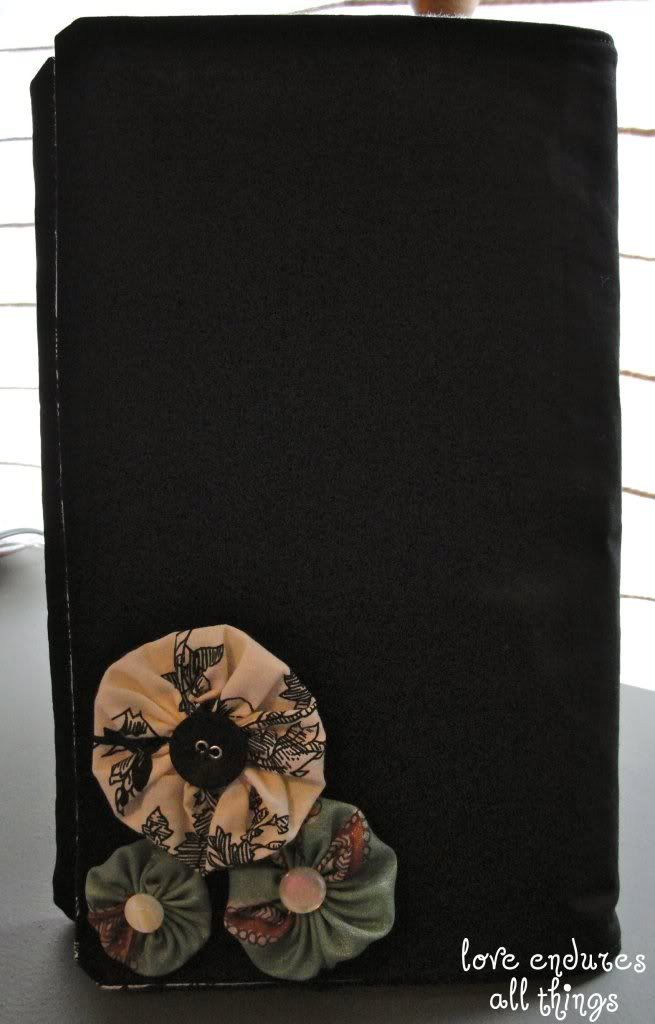
Anyway, I made this clutch for my mother in law's birthday.
I would love to add a clutch to my Etsy shop next...that is, as soon as the magical time fairy visits to grant me a few extra hours one day!
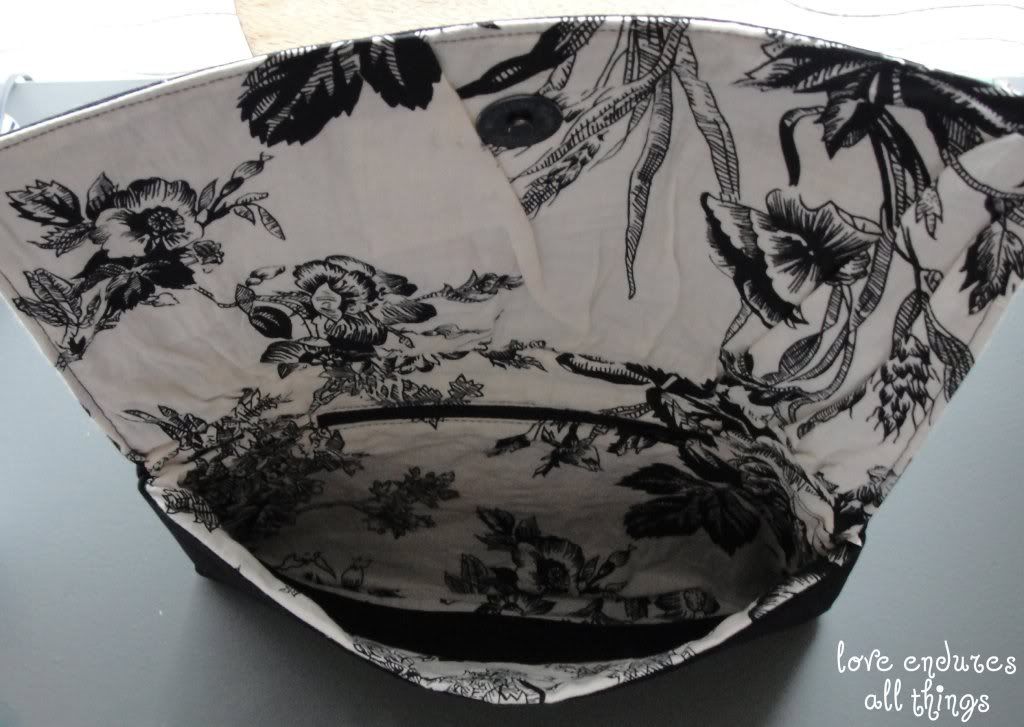
 Aaaand a picture of the inside:
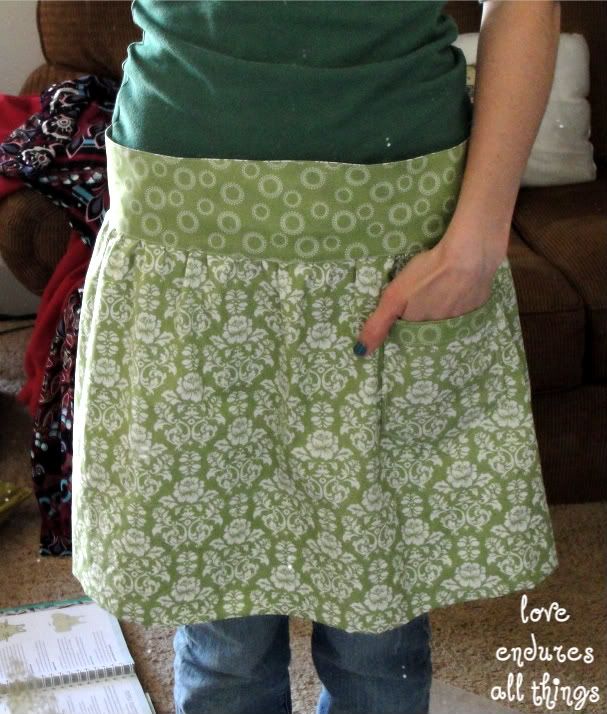
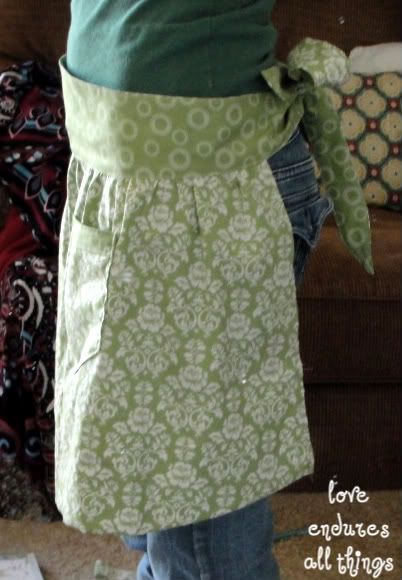
Now for Mother's day presents. I forgot to take pictures of the presents I made for my mom. Oops. But here's a picture of me modeling the apron I made my mother in law.
We gave it to her a few minutes before we left this weekend so I didn't get to see it in action.
Hope everybody had a good week!
post signature

12 April 2011

Check out my Checkbook

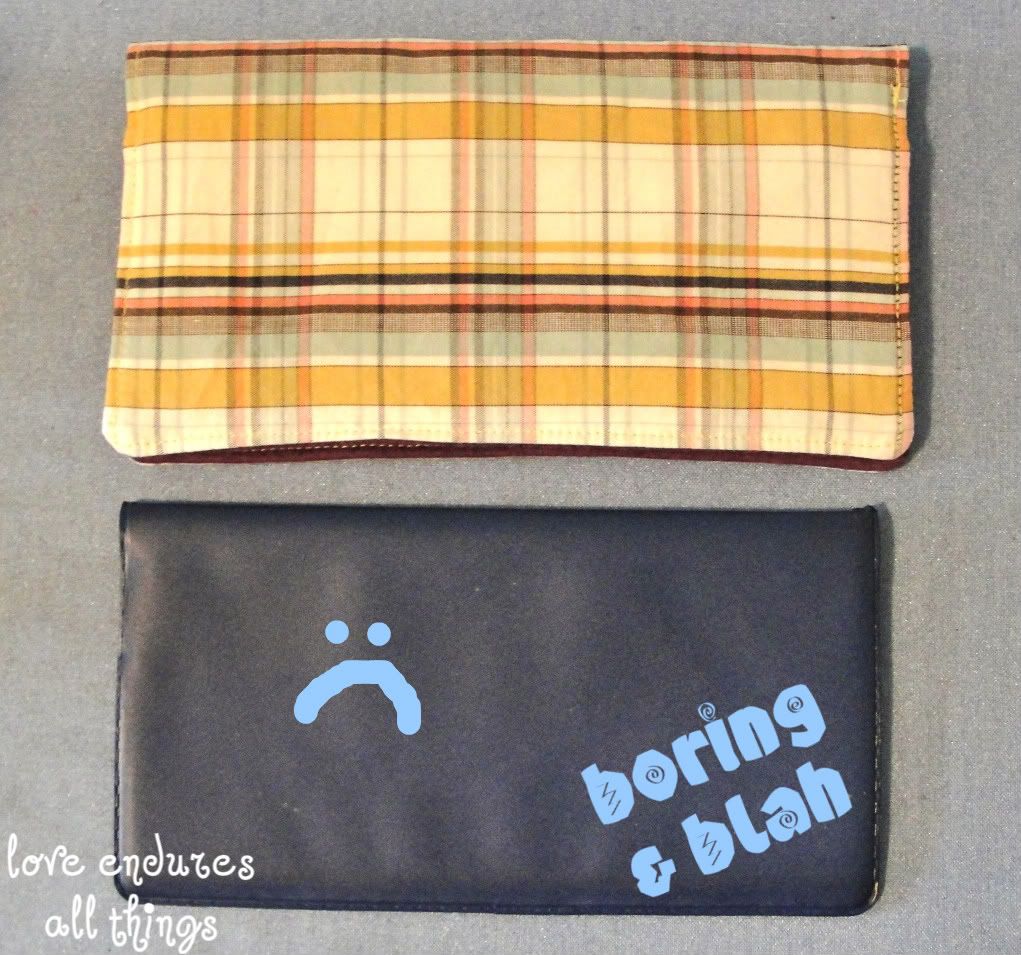
Could a title get more corny? Probably, but I won't go there tonight. I'm here to share my new and improved checkbook cover. You tell me which one is cuter (don't worry, I gave you a little hint).
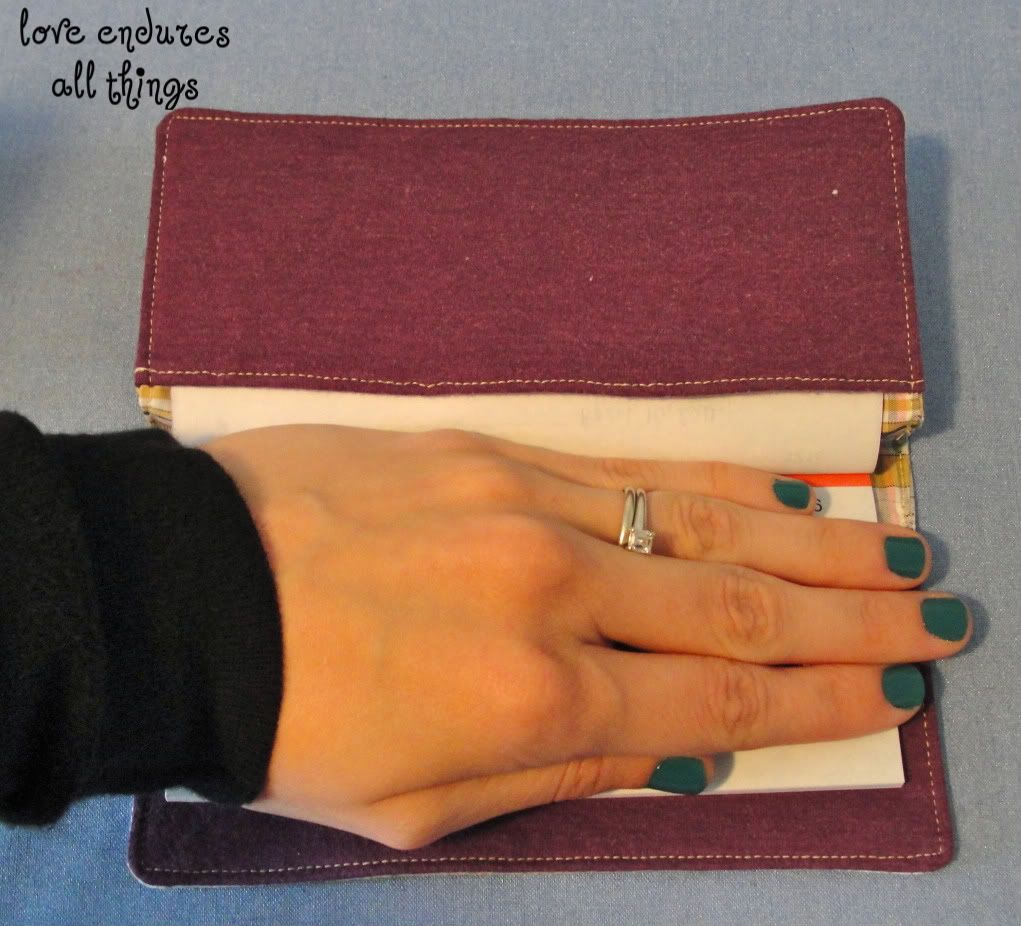
If you guessed the super duper cool plaid one, you'd be correct! You won't be disappointed by the inside either.
Sorry if you feel like you're not getting the whole effect. I just didn't feel like putting all of our bank account information on display. The fact that I got to show off the new nail polish I got today too is just a bonus : )

And I bet you'll never guess where I got the fabric (unless you've already scrolled down...).
That's right. A pair of shorts. Those shorts gave me a few good years (ok probably more like several at this point, they needed to be retired). I wasn't loving them anymore though so they were in the formerly Goodwill, now potential sewing project pile.

The pattern, which I actually followed almost exactly, is from Weekend Sewing by Heather Ross. This is the first thing I've made out of the book, but there are other things I'm looking forward to trying like a giganto purse (my title, not hers), an apron, and pj pants.

I picked the book up at my local library and it even came with patterns! So if you haven't already, head to your library and see if they have any sewing books. I'm very happy that ours carries a few sewing books, with patterns, that were written in the last 5 years (read: the patterns are for things I would actually use/wear rather than for items like an embarrassing jacket with shoulder pads). That kind of makes up for the fact that our even localer (localer? hmm probably not a word...it's closer to our house) library is only open 2 days a week for 4 hours...or something like that. So I have to go to the not quite as local library for books.

Hmm that last bit took me a little bit off topic and made it harder to end the post.... You should check your checkbook to see if you can deposit some more style in it. Go ahead and roll your eyes, I know it that was pathetic pushing it. I hope your week is off to a good start!
post signature