Showing posts with label gift. Show all posts

18 November 2011

Gifts for guys

Ok, anybody else having trouble thinking of something to get for the guys in your life for Christmas? For some reason I seem to have more trouble coming up with gift ideas for guys than for girls. Actually here are some of the reasons I thought of:
  • I'm a girl, so naturally I have a better idea what a girl might want
  • Hubs is picky (that probably doesn't apply to everyone, but remind me to tell you the story of the chocolate vs. black dashboard sometime)
  • You can't apply mad crafting or sewing skills to most guy presents - I'm fairly certain my Dad does not want a cute headband and my uncle doesn't want a pretty clutch
  • Guys are weird
 Most of my guy relatives are pretty much maxed out on knives, multi-tools, etc. (although they would probably say you can never have too many) so I've been on the lookout for different guy gifts this year. I thought I'd share some ideas I've compiled after hours of browsing pinterest. Some are homemade and others are...uh...not.

1. Paracord bracelet - looks tough and could be useful in an emergency (you can unravel and use the 7-8 ft of paracord to hold stuff together or something)
 Tutorial here on my blog

2. Camera lens coffee mug - way more fun than a plain ole mug
$24-30 at Photojojo

3. Astronaut ice cream - how cool is that? (haha, get it? coool?? sorry, I couldn't help myself)
$3.99 at ThinkGeek

4. Turn a fat tie into a skinny tie - I'm keeping this in my back pocket for Hubs someday
 Tutorial at Design Mom

5. iPad case - although may I suggest a slightly more manly fabric and a magnetic snap closure instead of a bow...unless your guy is the bow-liking type
Tutorial at The Polkadot Chair
And for the little guy, I like:
6. Socktopus - cute and cuddly :) and not every kid on the block has one
 Guidelines here on my blog (no pattern, sorry!)

7. Car play mat - doesn't this look fun?? And from what I've seen you don't even have to sew them, just hot glue!

Hopefully that gave you some new ideas! Anybody else have brilliant guy gift ideas?
post signature

08 May 2011

I'm back

Please excuse my bloggy break last week. We were visiting family, so I let blogging slip to the back burner for the week. Since I didn't make much while we were gone, I thought I'd share a couple things I made recently and haven't shared yet. Although I did pack some fabric and even contemplated bringing my own sewing scissors. Hah, am I going crazy? Maybe.

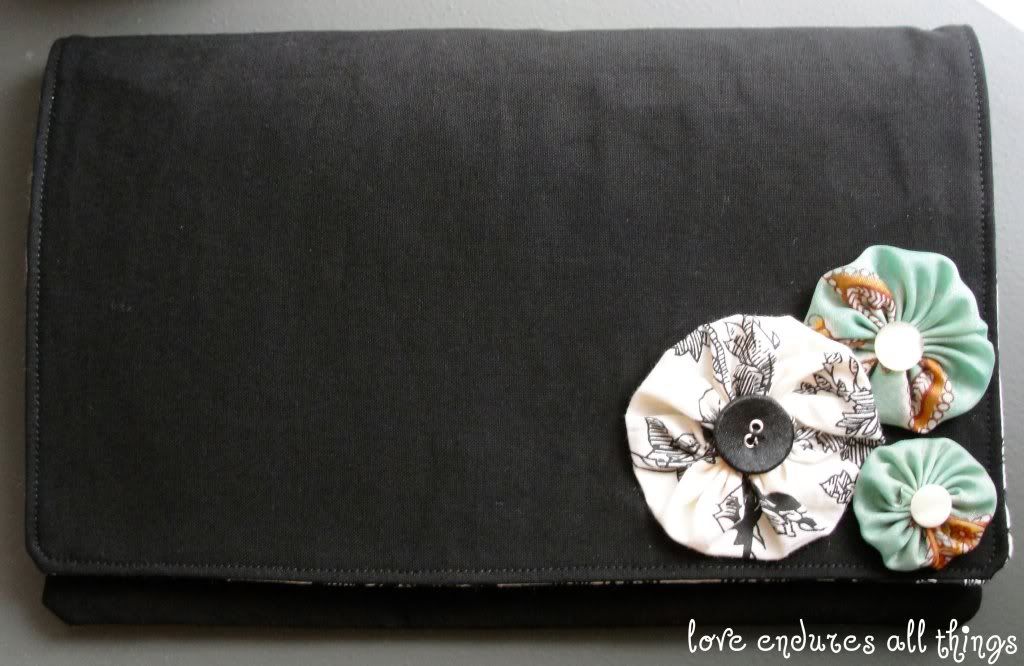
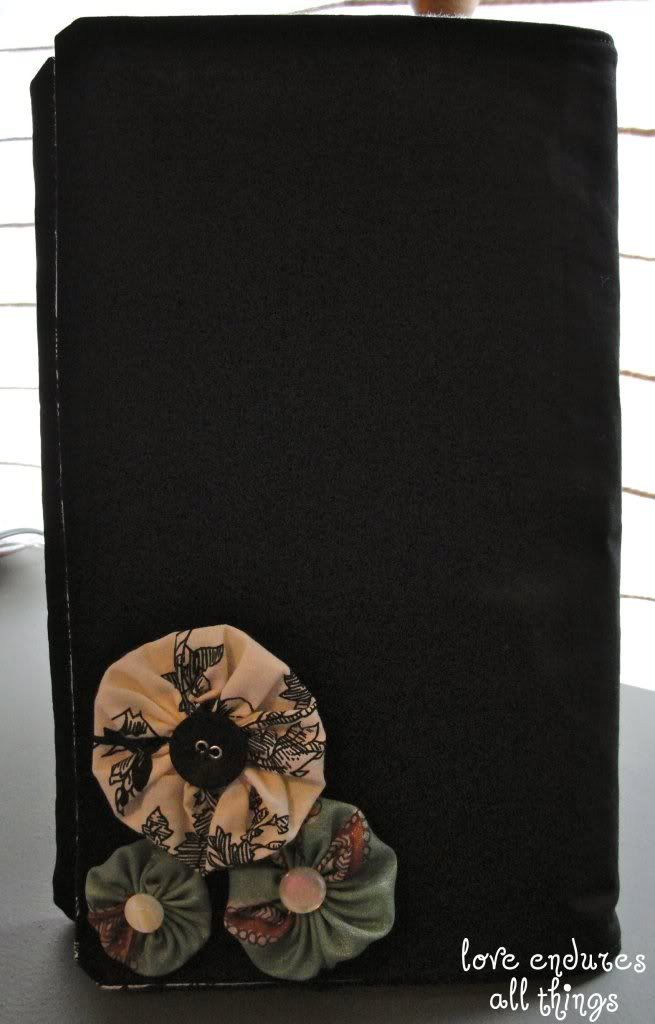
Anyway, I made this clutch for my mother in law's birthday.
I would love to add a clutch to my Etsy shop next...that is, as soon as the magical time fairy visits to grant me a few extra hours one day!
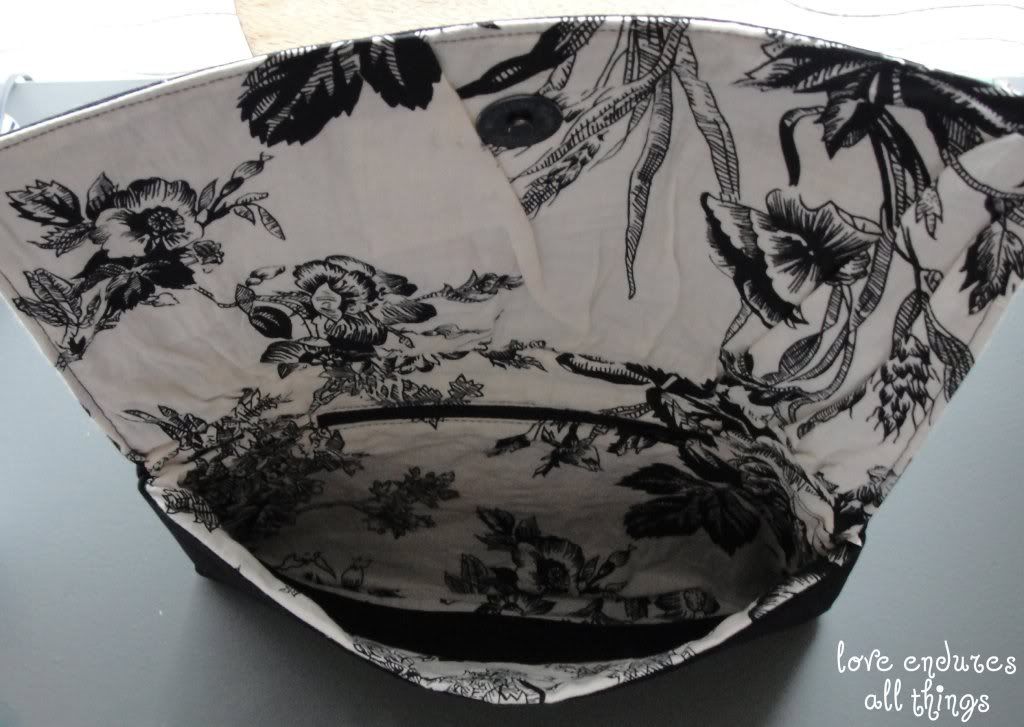
 Aaaand a picture of the inside:
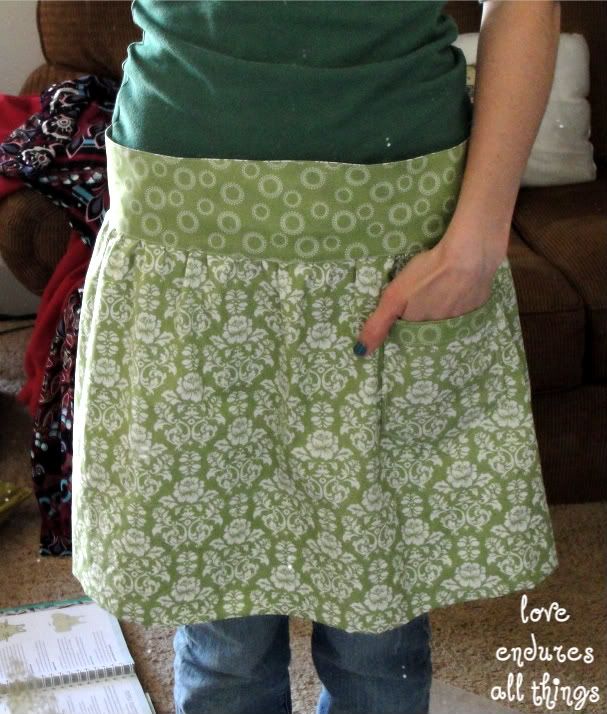
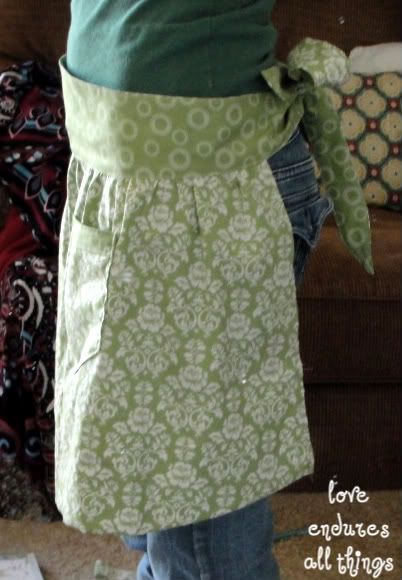
Now for Mother's day presents. I forgot to take pictures of the presents I made for my mom. Oops. But here's a picture of me modeling the apron I made my mother in law.
We gave it to her a few minutes before we left this weekend so I didn't get to see it in action.
Hope everybody had a good week!
post signature

18 April 2011

Baby Name Taggie

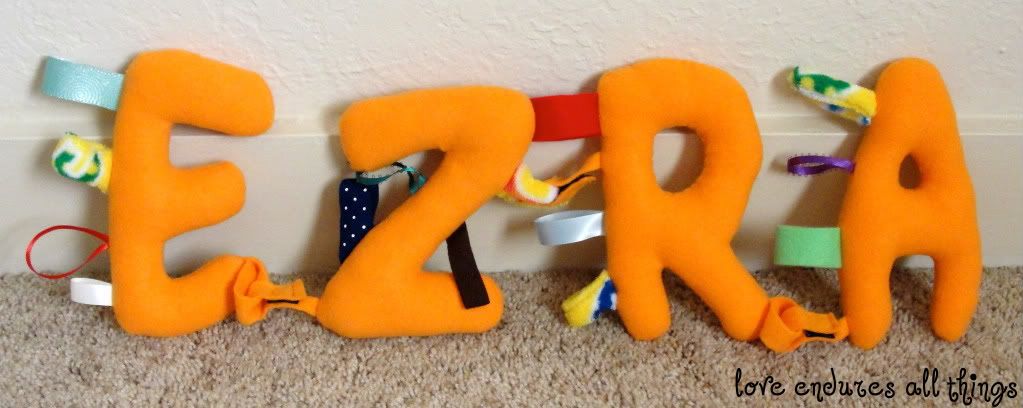
I'm sure everyone has seen taggie blankets for babies (taggie? is that even the correct name? who knows). This is what I'm talking about in case the name is totally off base.
Thank you Google Images. I kind of remember seeing an idea that was like a taggie blanket, but just an initial. I liked that, but I thought I could do something a little different.
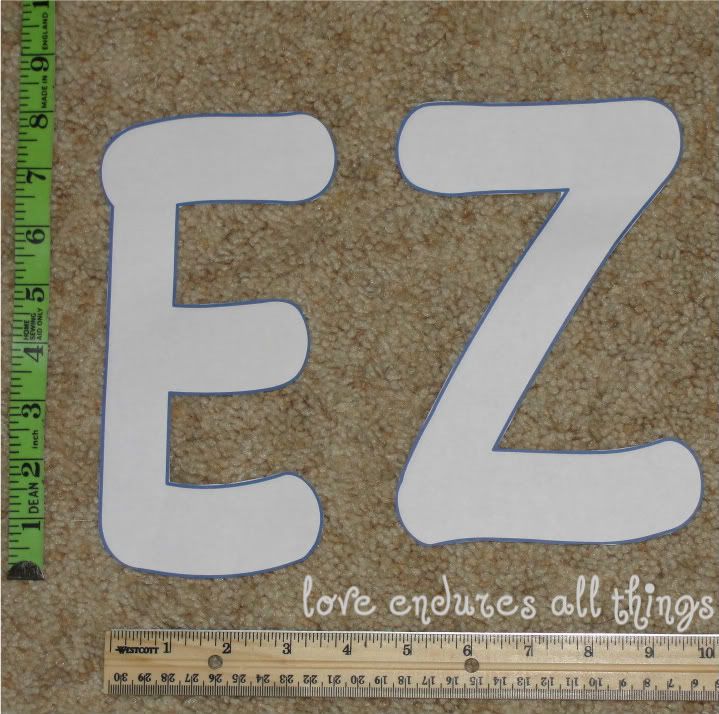
First I found a bubbly font and made it really big then cut out the letters after they had been printed. This should give you a little size reference.
I think I had two letters per sheet of 8 1/2" x 11" paper. Once you have your letters you can trace them onto the fabric. I added a little extra for seam allowances so the letters would end up about the same size as the printed letters. Since I used fleece it didn't matter as much about wrong/right sides, but when you're tracing and cutting just double check that the right sides will be out when everything is assembled.

Sorry I don't have more in-process pictures. Sometimes I get started and forget about blogging/picture taking until I'm done. (That and I didn't decide whether I would post this or not until this morning : ) Then cut little ribbons and pieces of fabric and felt to your little heart's content!

Pin everything together like this: letter piece 1 (right side up), ribbon with ends sticking out, letter piece 2 (right side down). Maybe that made sense? I briefly thought about bringing in one of my masterful paint drawings to help explain, but in every case this case I think it might make it even more confusing. Leave a hole for turning - preferably one that is larger than your finger!

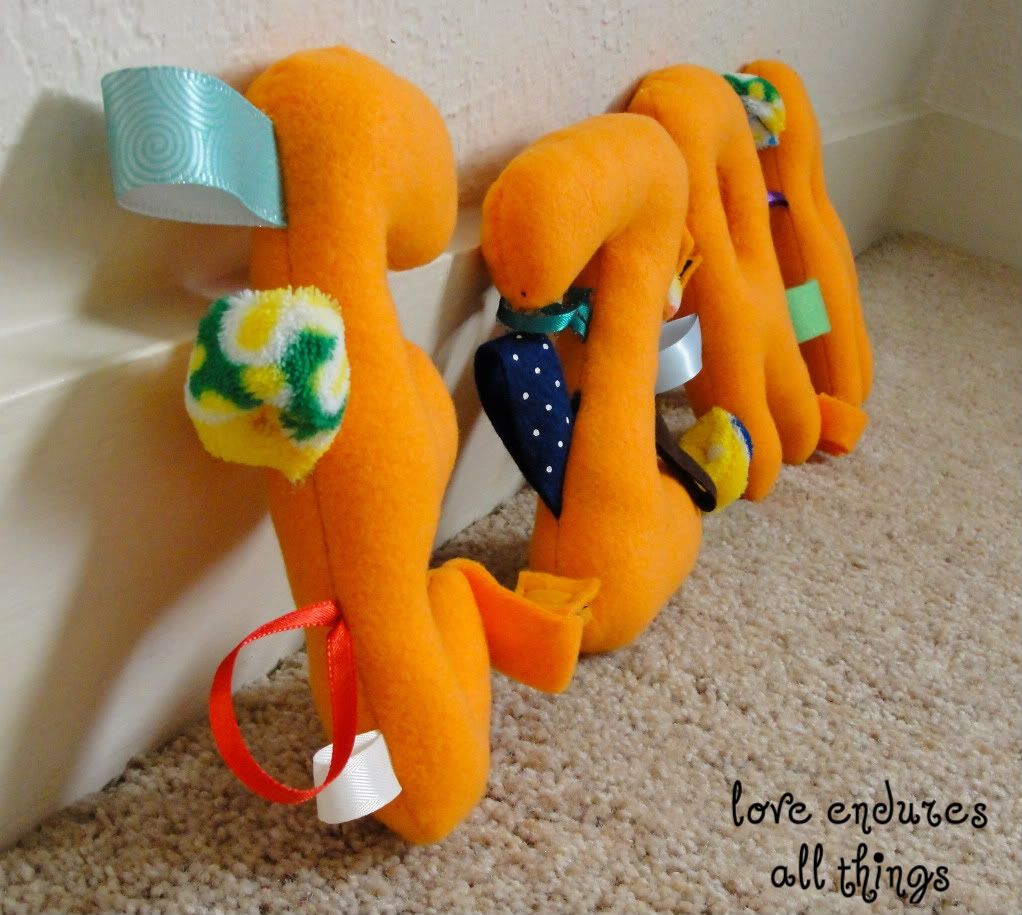
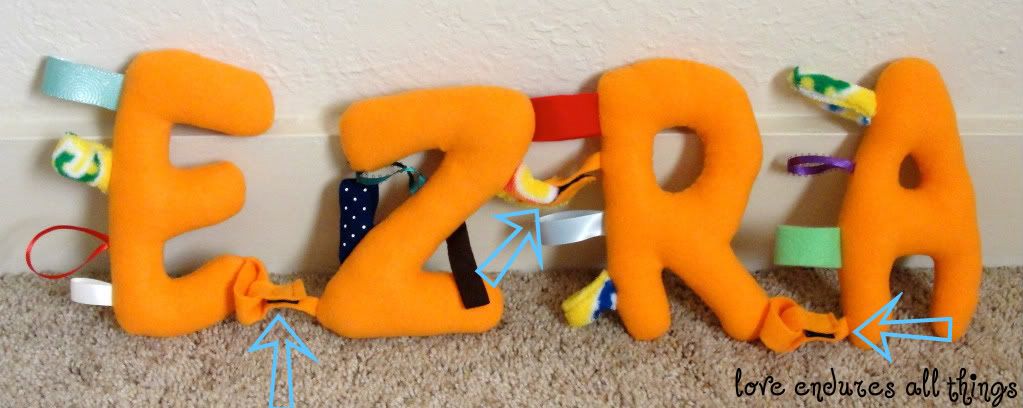
Stuff, sew up the hole, and you're done! I don't remember how long this took me, but I don't think it was a really long time (wow, so helpful of me to share that piece of information, I know). Here's a side view so you can see the stuffed puffiness of it.
I almost forgot about one part! I made a loops with velcro on each letter so you can attach the letters or have them separate.
I thought it would be fun to be able to take them apart and put them back together. Plus, this way if he decides to change his name to Zera or Raze this gift still totally works. Hah!
post signature