Showing posts with label craft. Show all posts

29 October 2011

15 Minute Costume

Not only is this costume quick to make, it also costs a dollar or less! I went back and forth on whether I was going to dress up for a party since costumes were optional, but decided to go as a lego.
You can thank Hubs for the pose...he wouldn't take more pictures unless I did that. You know what's nice about being a lego (aside from the low cost)? You get to be comfy and wear jeans and a tshirt and your costume is easily removable if you get tired of it. To make yourself a lego you need a tshirt (you could go with colored pants too if you really wanted to be all lego-y), poster board, scissors, tape, and thread or string...oh and a ruler would be nice.
I had everything, but poster board so I spend $1 on the poster board. If you don't have a solid colored shirt without writing on it, just turn a solid shirt inside out and you're good to go! You could probably spend less if you went for white poster board, but I went with green. Cut the poster board down so that it's a little narrower than the width of your body.

You're going to cut six circles and six rectangles for your lego. I used a cup to trace out the circles. Measure the diameter of your circle and use the internet your middle school algebra skills to figure out the circumference. Or just keep reading because I'm about to tell you. :) My circle was 3.75" across.

3.75"x 3.14 = 11.8"  So now you cut six strips that are 2"x11.8". This is what you've got so far:
And now you assemble the dots on the lego. Sorry there aren't any pictures, I was in a hurry when I made it so I didn't stop for pictures. Or maybe I should say your welcome because my paint drawings are like works of art. :)
Those gray pieces are tape FYI. I tried to do most of the taping on the inside of the cylinder. There was one piece on the outside where I taped the rectangle together so I just made sure that side was toward the ground when I taped it to the poster board. Stick a couple pieces of tape on the inside of your cylinder and stick the cylinders to the poster board.
Now you just need to punch a couple holes tie yarn or thread or whatever you have on hand in each hole so you can wear it like a giant poster board necklace.
(the color of the lego and my shirt match a little better in real life, the flash made the colors look a little different)
Hopefully this helps out anybody that's looking for a super fast, super cheap costume! Oh, and if you're wondering how it went over...everybody thought it was great at the party (and they had no idea I threw it together in 15 minutes)!
post signature

19 June 2011

Clay - not my favorite medium

So my sis is visiting this week. Yay!
(Hopefully she'll still read my blog after I posted the picture she told me to delete...love you sis!) I thought it would be fun to try something new.
 from one of my Pinterest boards: link
Aren't those cool? Yeah, and didn't seem too hard so I picked up some clay at the craft store. Weellll have you ever used this stuff? Here are the detailed instructions:
Really, Sculpey?? That's all you can give me? How about a 6th line or something. No tips on making the shape or what to do when your clay starts smoking in the oven? Since I know absolutely nothing about clay I got two little packages. I thought that should be enough for a few little bowl plates...wrongo.
And we used hot glue sticks to roll it out...real professional-like. What? I didn't want to stain my nice bamboo rolling pin.
Not the best method, in case you're wondering. Also, you should probably use one package per dish unless you want your dish to be somewhere between cardstock thickness and 1/4". After lots and lots of futile rolling, it was time to cut out our dishes.
I knew there was a reason I kept those tiny plastic swords.  They worked like a charm (it's about time something worked right with this project)!
I had this idea to use a toothbrush holder I found in the bathroom to give it some texture.
My practice pieces turned out pretty cool...not so much on the actual dish.
Time to cook these things! We put them on oven-safe bowls so they would curve up on the edges.
We'll gloss over the part where there was a funky smell coming from the oven and perhaps a tiny bit of smoke coming off the clay. Apparently I didn't have the cooking time exactly right.
Looks like they didn't exactly turn out perfectly.
Oh well.
We still had the pearly clay to work with! Let's get this disaster over with Yay! I went for a mini tree that would hold my hair ties. My sis went for her initials and a flower. I had to hold mine up with thread because it wasn't exactly structurally sound before I baked it.
Andrea's turned out well...
Mine, not so much...this is what I saw when I opened the oven to stick Andrea's in.
I thought maybe I could fix it, but turns out I definitely couldn't.
Oh well, still fun to spend time with my sis and learn that I much prefer sewing to sculpting! More fun from our visit coming this week : )

post signature

06 June 2011

Paracord Bracelets

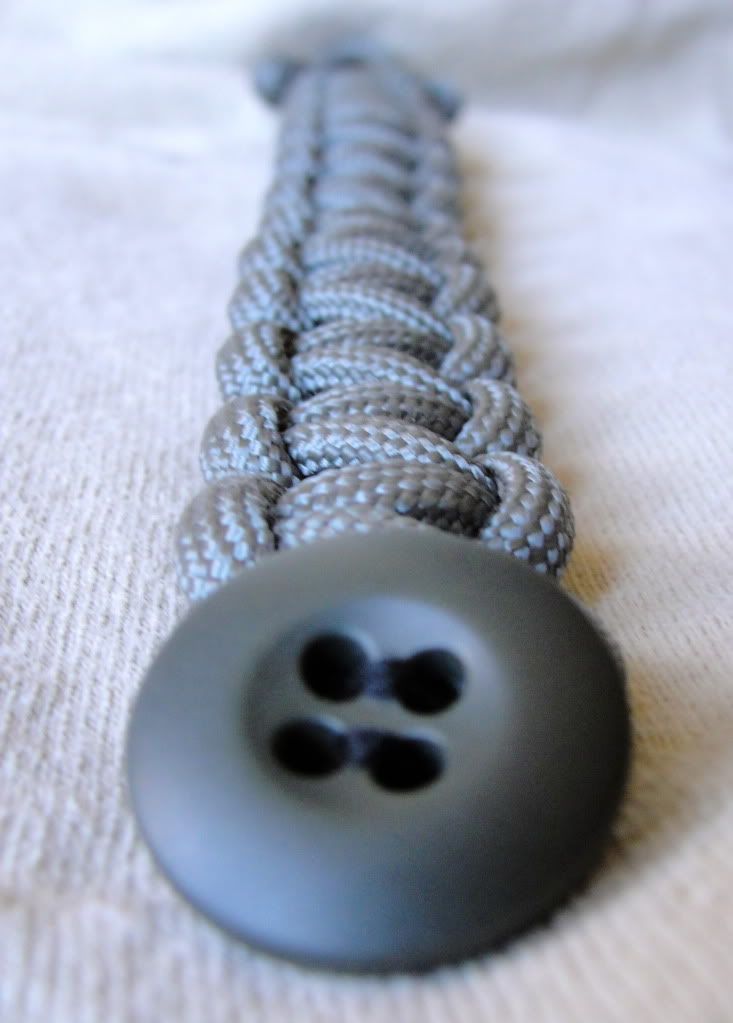
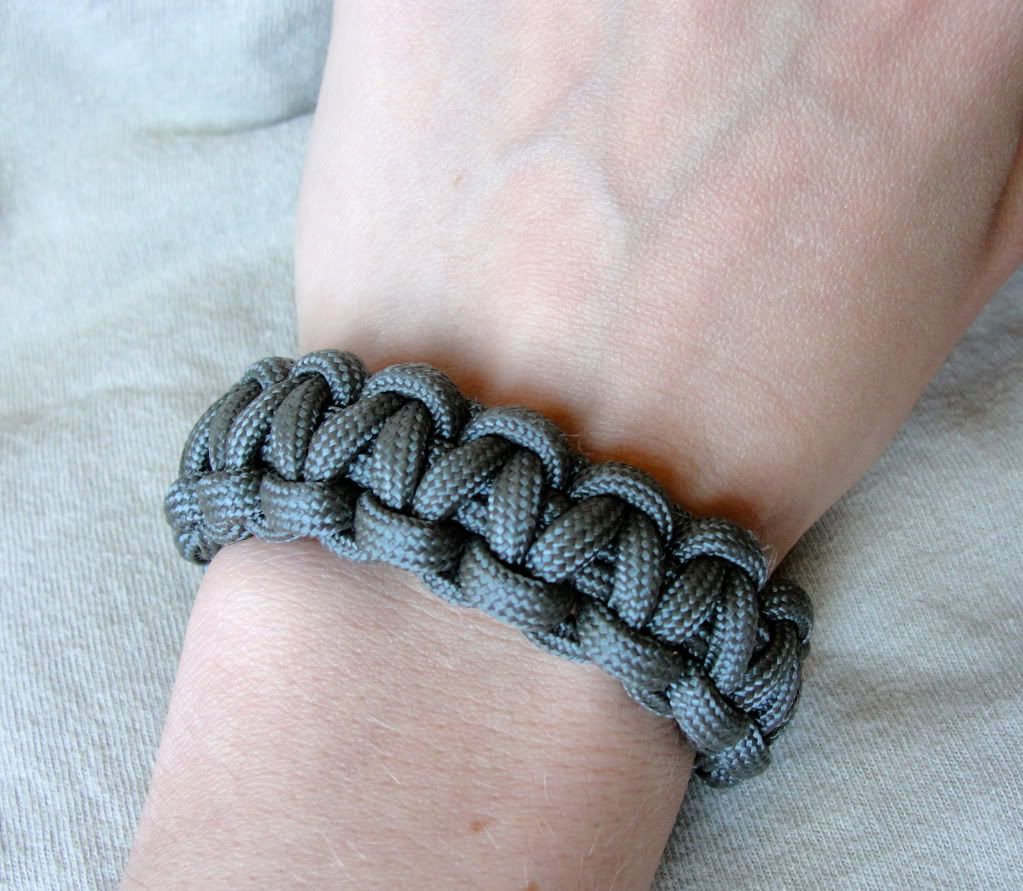
Have you seen those "survival" bracelets made of paracord? Maybe I should call them something other than bracelets...something more manly, haha. Survival wristbands? No? Ok, well anyway, we bought one as a present for my dad a while back and he really liked it. I've been thinking about getting one for Hubs, but they're a little pricey (ok, not really, but I just didn't feel like shelling out 20-30 bucks for one). Then I saw a bunch of paracord at the PX on base and I thought I'd try making one.
Turns out they're really easy to make! I found a tutorial online that's pretty good (here's the link, it will open a pdf document: www.raems.com/550_cord_bracelet.pdf). I had to read through some of the steps a few times before I understood, but after you get the hang of it it's really quick.
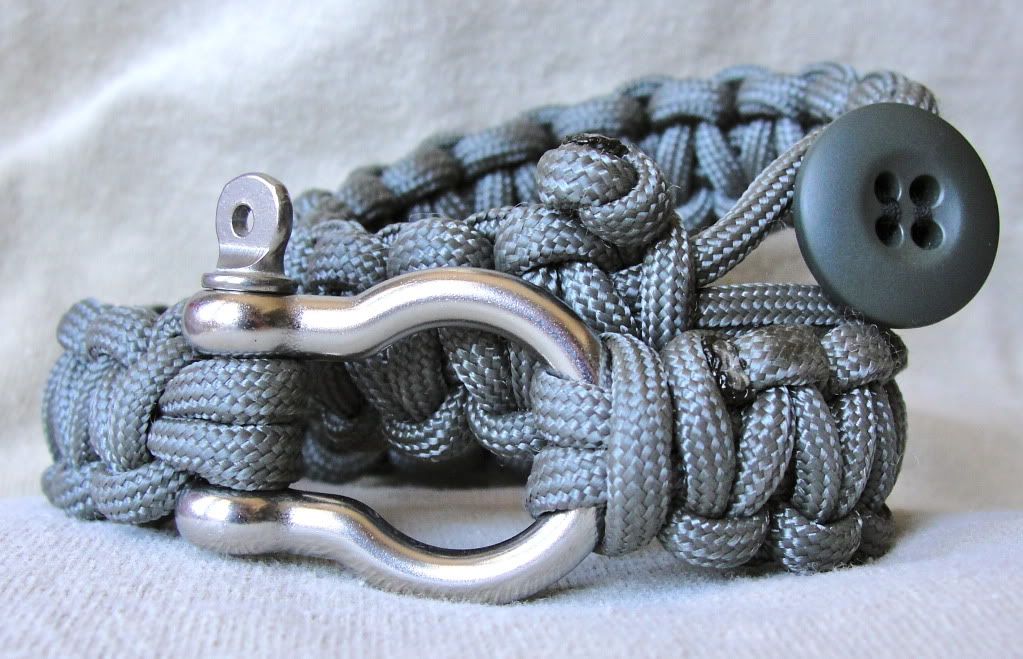
If you decide to make them you'll want to have about 10 feet of cord, sharp scissors, some kind of button or clasp (I used an extra ABU button on one and a shackle from Home Depot on the other), and a lighter.
I used probably closer to 8 or 9 feet per bracelet, but you'll probably want to start with 10 feet just in case. If you mess up (or measure completely wrong the first time like me) it's quick to undo and redo as long as you haven't already cut the ends off and burned them. Definitely want to try it on before you cut and burn.
Sorry I don't have info on where you can buy the paracord unless you happen to have access to a military base. I do know that you can get the plastic clasps on Etsy though. We found the shackle on the isle with all of the screws, nuts, and bolts at Home Depot.
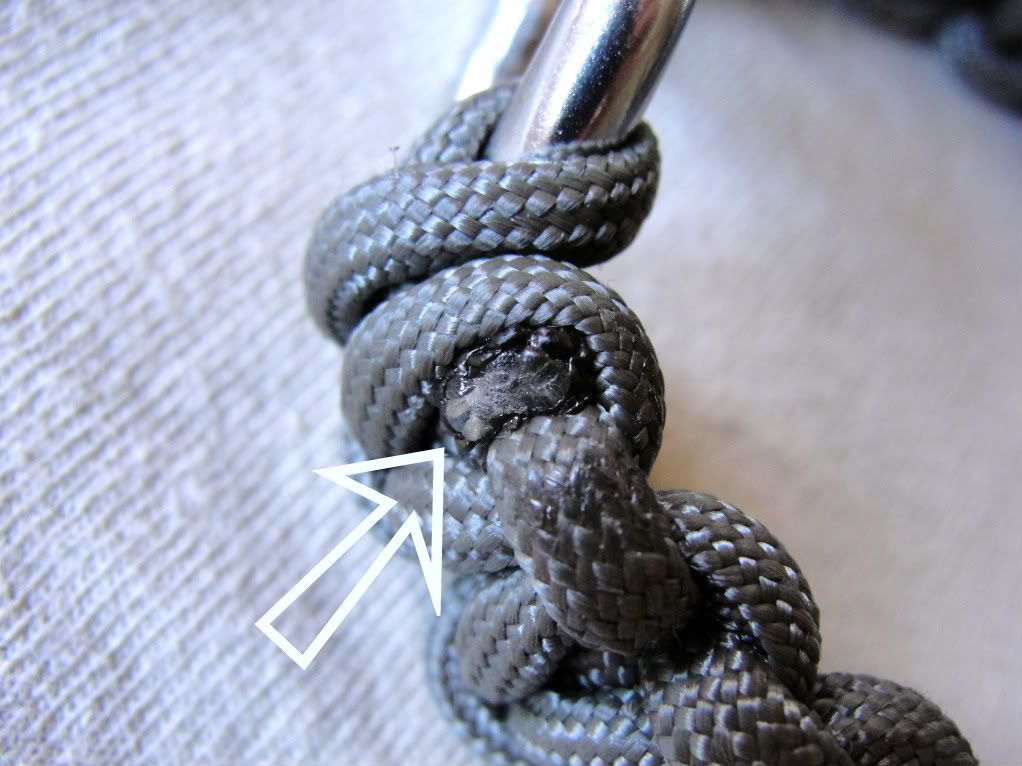
Here's a closeup of the burned end. On the first bracelet I tied a knot in each side then burned it because I was afraid it wouldn't stay, but on the second I just trimmed it as close as I could and burned it right after I cut it. It seems to be staying well. You want the end to get a little melty so it will stick to what's around it.
50 feet of the cord was less than $5 and the shackle was only a couple bucks, so you can definitely save by making it yourself!
post signature

26 May 2011

Pasta Jar Pincushion

I've seen lots of idea/tutorials for pincushions, including more than a few mason jar pincushions. This was one of the first crafty things I tried that I found on a blog.

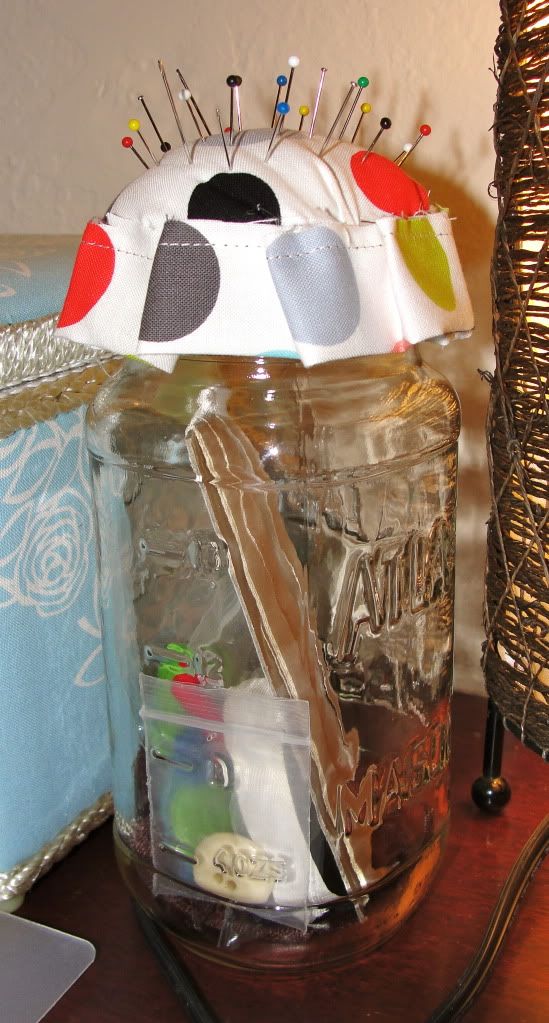
There was kind of a problem though. Most of those people had actual mason jars (with the two part lid). I, however, had a pasta sauce jar that was kind of a mason jar except the lid was all one piece. Not quite as good. So I improvised because I had to have one of those mason jar pincushions.
Maybe you can tell (a few months later) that I just hot glued my little stuffing pod to the lid. And the bottom was just some cardstock paper so it started to be not exactly flat. Here's what it looked like when I first finished. I had to add the ruffle around the edge to hide the lid. I couldn't wrap the fabric around the lid because then it wouldn't be able to screw on.
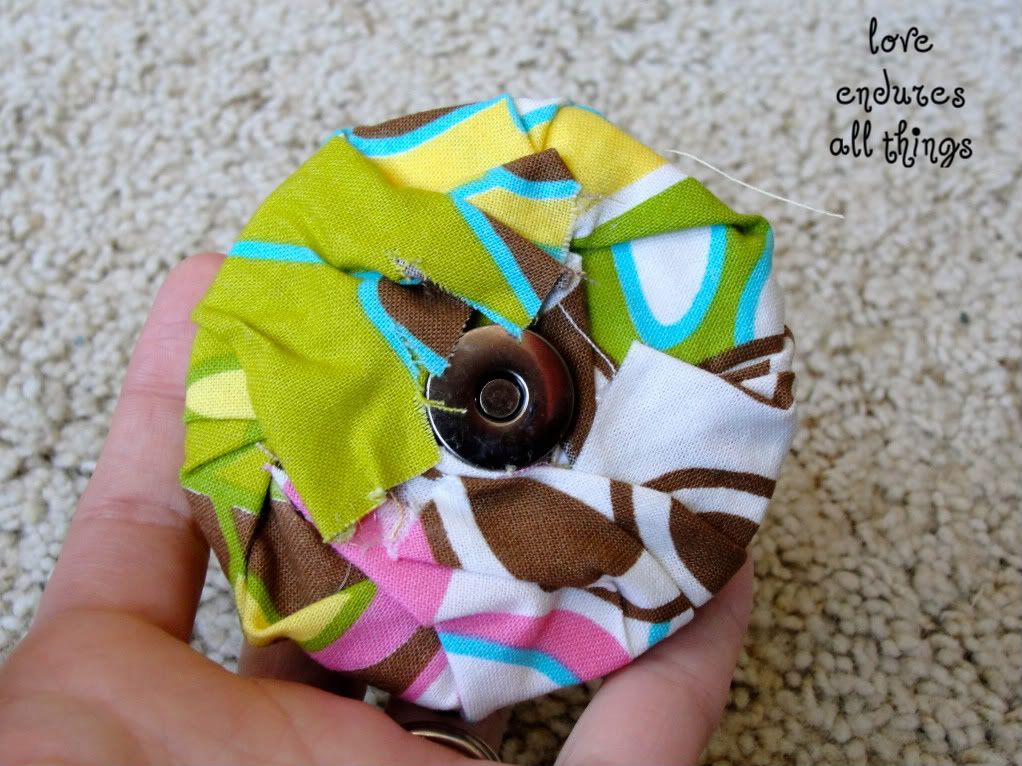
Then a light bulb went off! I'm a little surprised I thought of something so out of the box, but I'm so glad I did! I had a magnetic snap that was pretty much useless because one of the prongs on one side broke when I was pushing it down (at the time, very frustrating). The magnetized side was still in good shape though. Do you see where I'm going here?
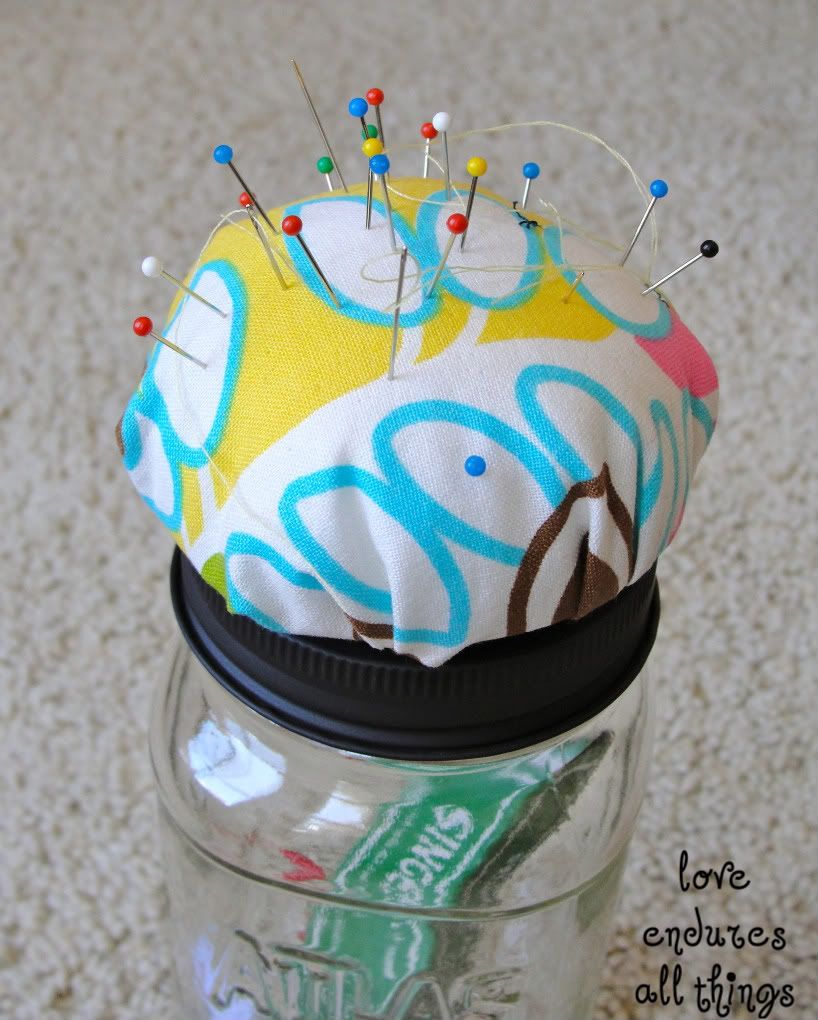
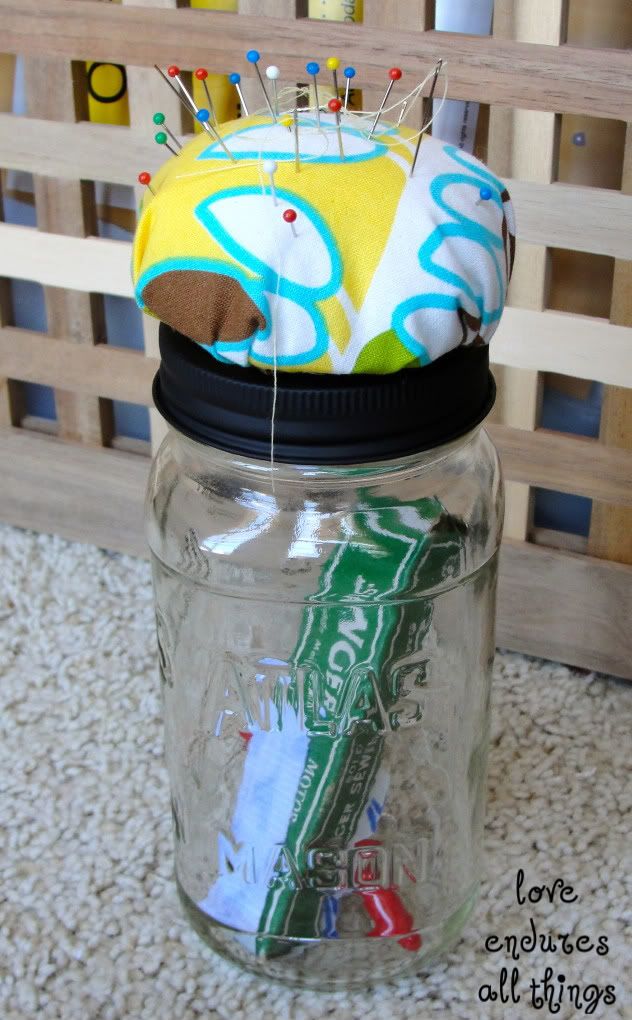
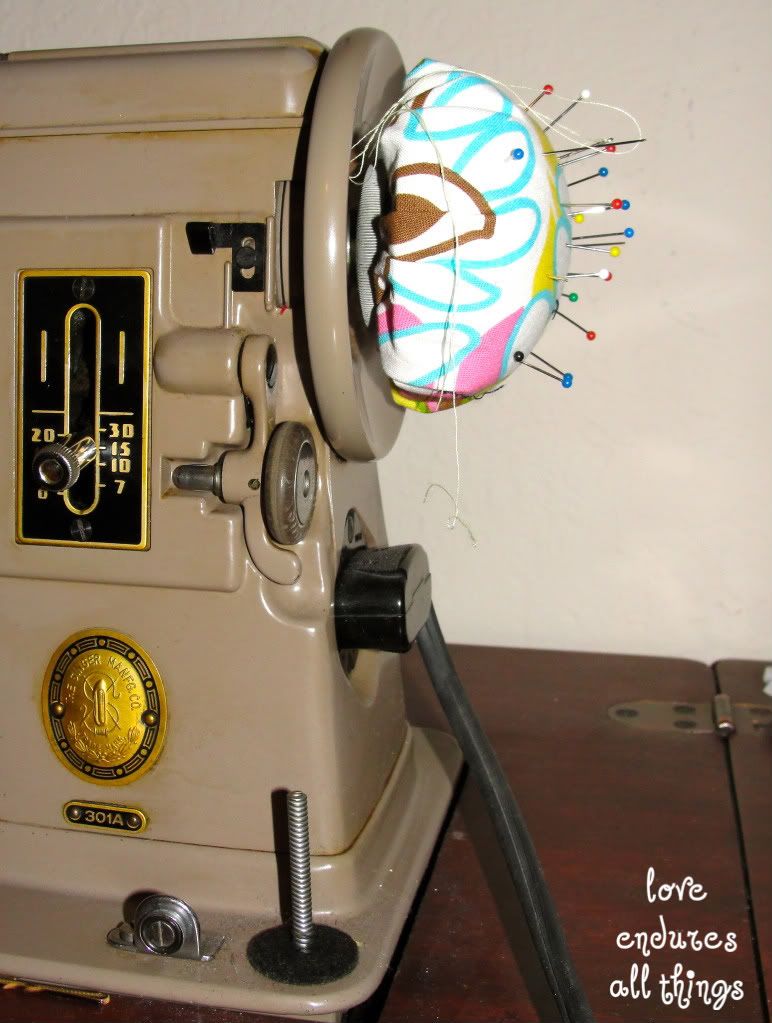
The pasta jar lid is metal. Ding, ding ding!  Now I have a pincushion mason jar but the pin cushion is removable since it's magnetic so I can just take the pincushion part with me if I relocate to somewhere other than my sewing table!
On the bottom of the pincushion I put some cardboard (I guess you could call it that) from a small box that a necklace or something came in. I just traced the lid onto the box and cut it out. Then I used an exacto knife to cut slits for the magnetic snap. I did use hot glue again to attach the fabric to the cardboard, but last time I didn't have an issue with that part peeling.
It even sticks to the side of my sewing machine. Not that I ever leave it there, but it just seems that much cooler. : )
During my spray painting adventure I spray painted the lid so it didn't scream pasta sauce.
What do you think?? I'm still pretty excited about it - I like it much better than my last attempt! Have you done any projects recently that required you to think outside the box in order to finish it with what you had on hand?
post signature

29 April 2011

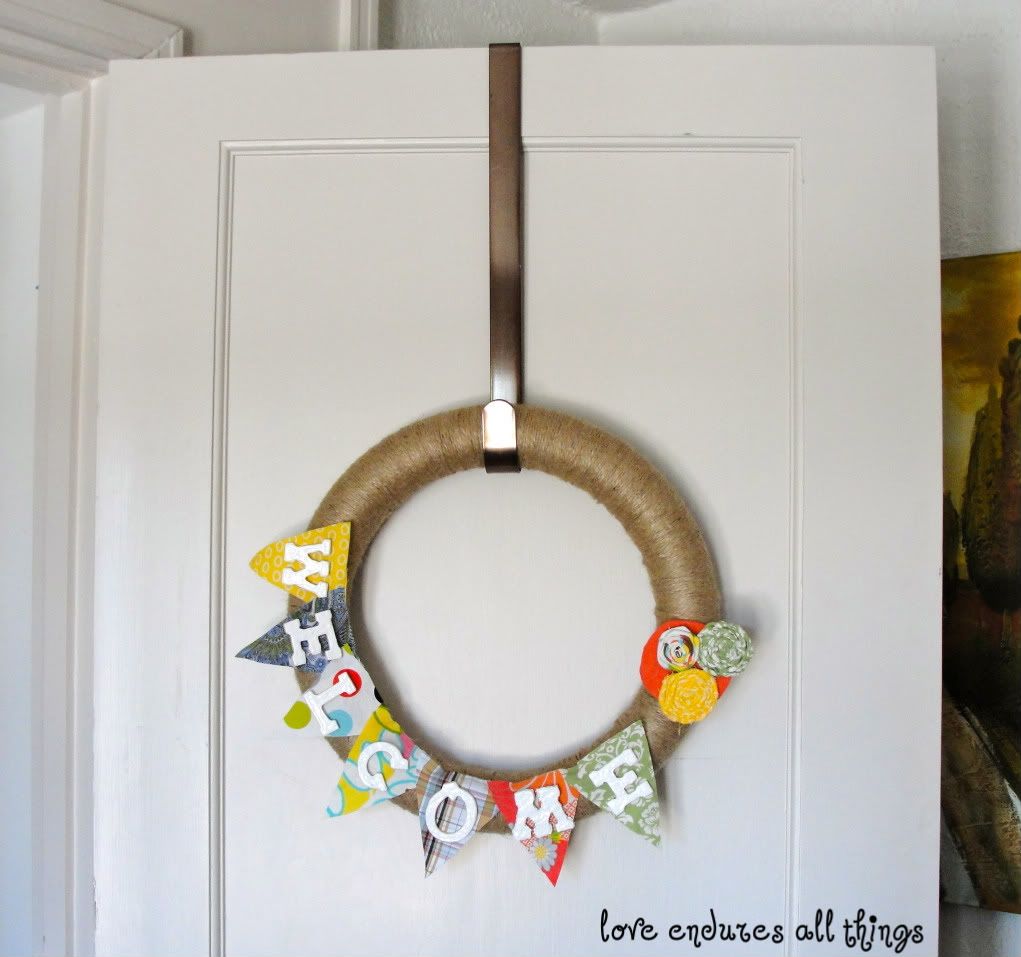
Spring Wreath

Well there are plenty of things I could should be doing other than blogging, but here I am. Maybe that means I'm turning into a real blogger (as opposed to a person that is kind of trying out this blogging thing but largely has no idea what she's doing). Or maybe that's just wishful thinking since half of the pictures from this post are from my phone because I was too lazy to get my camera while I was working. : )

Either way, I'm excited to show you the wreath I finally finished. I love the idea that Myra at the Casabella Project had to make a simple wreath and put velcro on it so you can change the wreath easily based on the season. Genius!! (Especially for someone like me who just last week realized I forgot to reset one of the clocks at daylight savings. Oops) You can find her original post about it here.

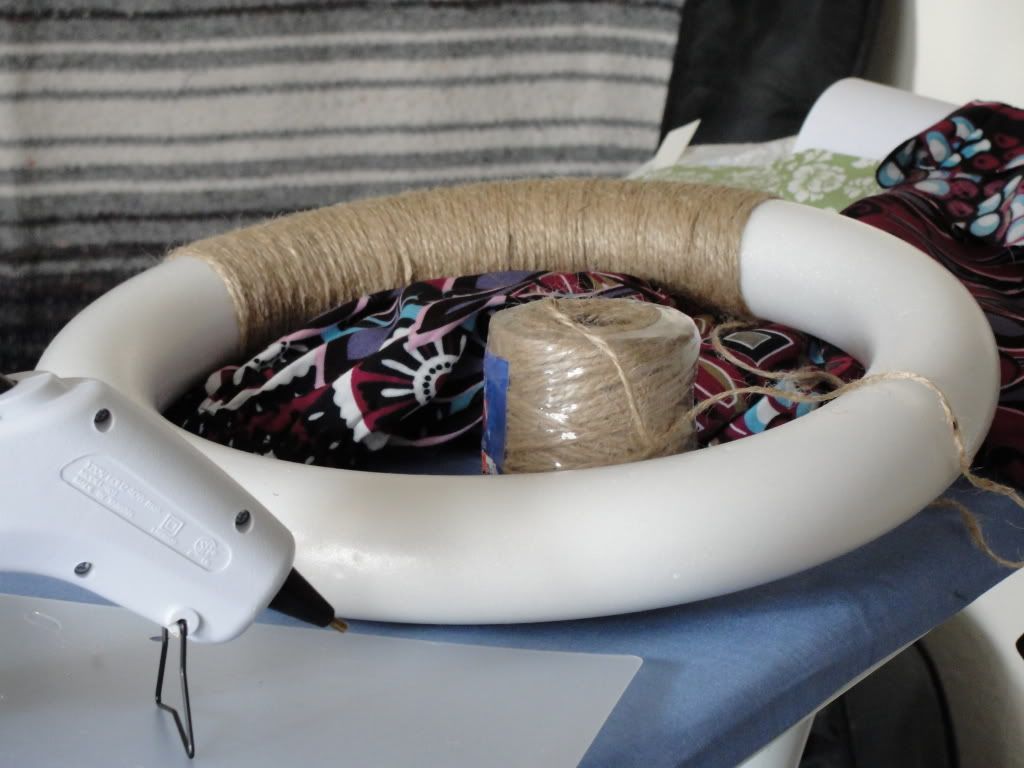
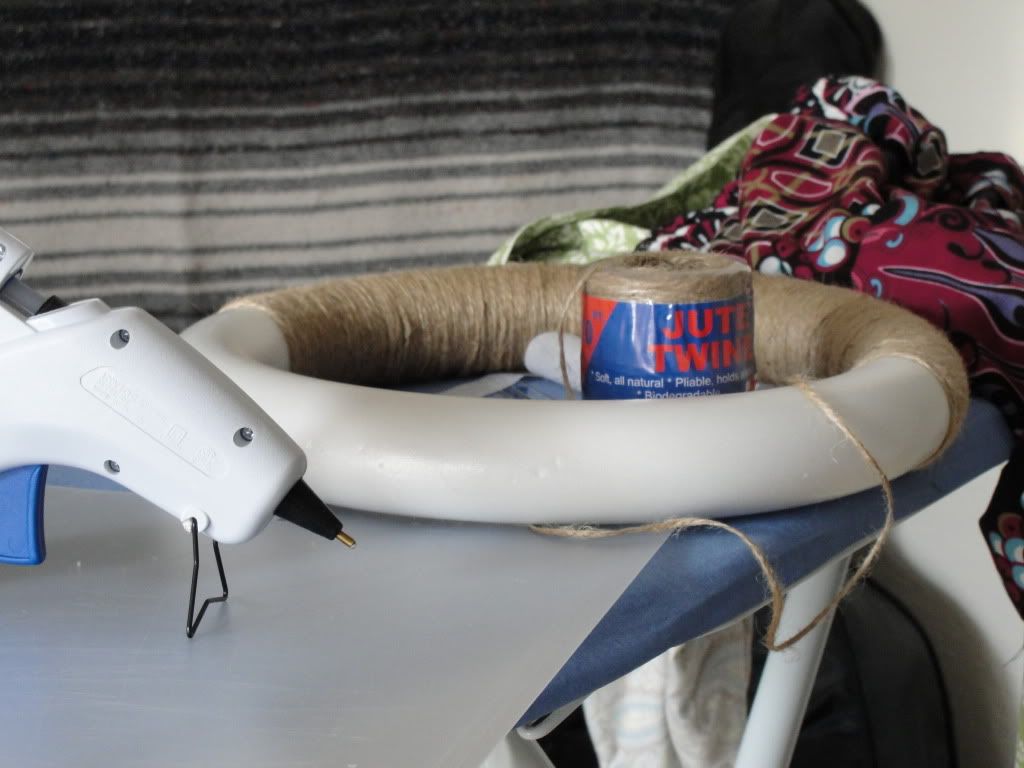
We had a roll of twine on hand (you know, just in case of a twine emergency) so I started wrapping. At first I was thinking the project would be easy-peasy and it didn't even seem like it was taking very long.....then this is when I took a break to check Facebook.
Aaand another break when I was starting to think I would never ever finish. Why do I always pick projects like this?
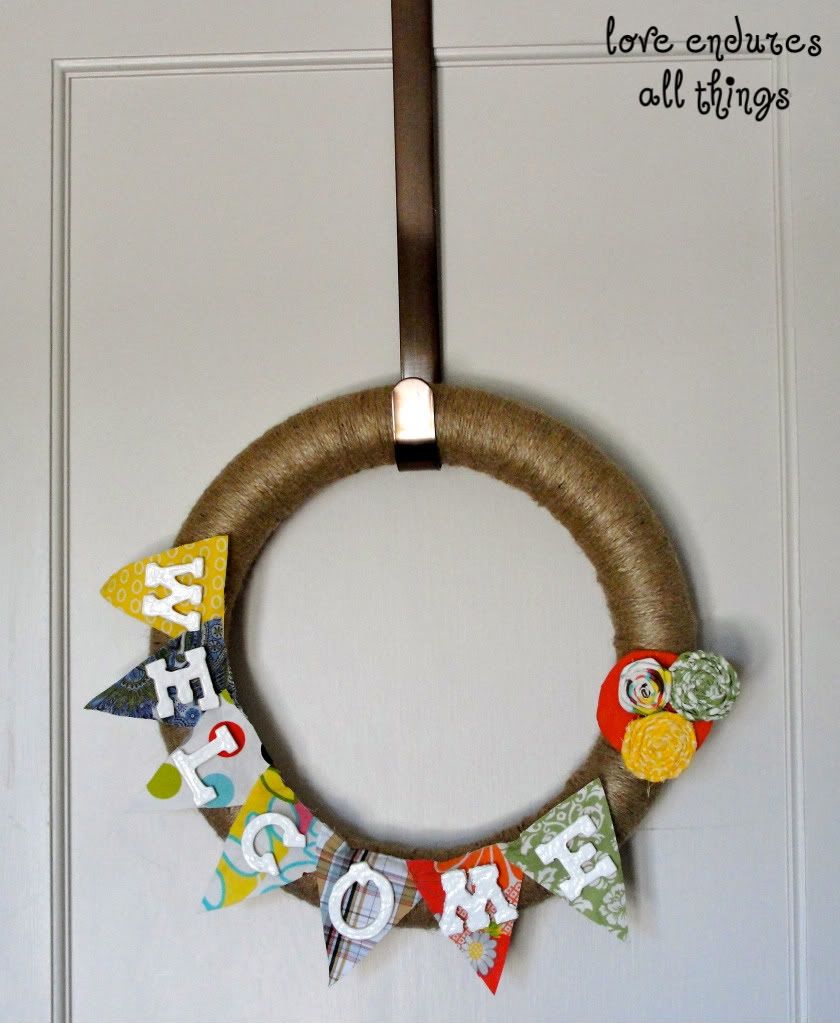
Anyway I finished wrapping and was very happy with myself. : ) But I still had no idea what I was going to put on the wreath. I tried making some rosettes with fabric scraps and found that I can make a rosette, but I don't think it's my forte. I had some small wooden letters leftover from another project and decided to spell out 'Welcome.' Unfortunately, I was short one letter.

I didn't let that deter me (although looking back I kind of wish it had). I cut one out of cardboard! That proved to be way harder than expected! Then I had to paint all of the letters so you wouldn't be able to tell which one was cardboard. Only the cardboard one wasn't as smooth so I used puff fabric paint to try to disguise it even further. Did you know you can use that on wood and cardboard? Because you can.

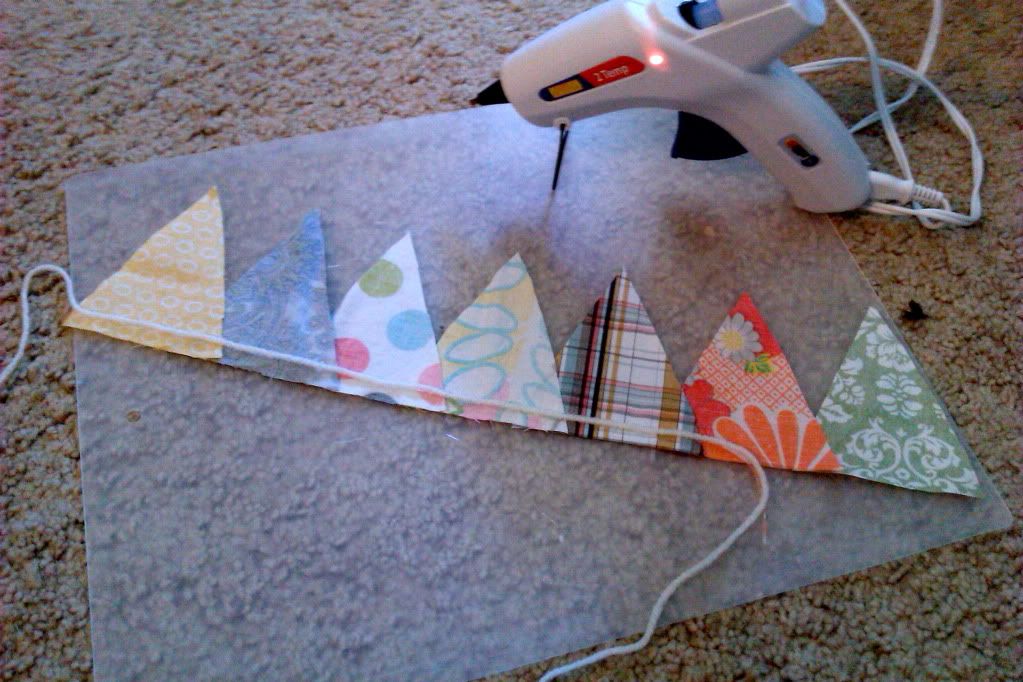
I am going to have to switch to the short version of this because this post is turning into a mini-novel (sorry!). Made a fabric bunting.
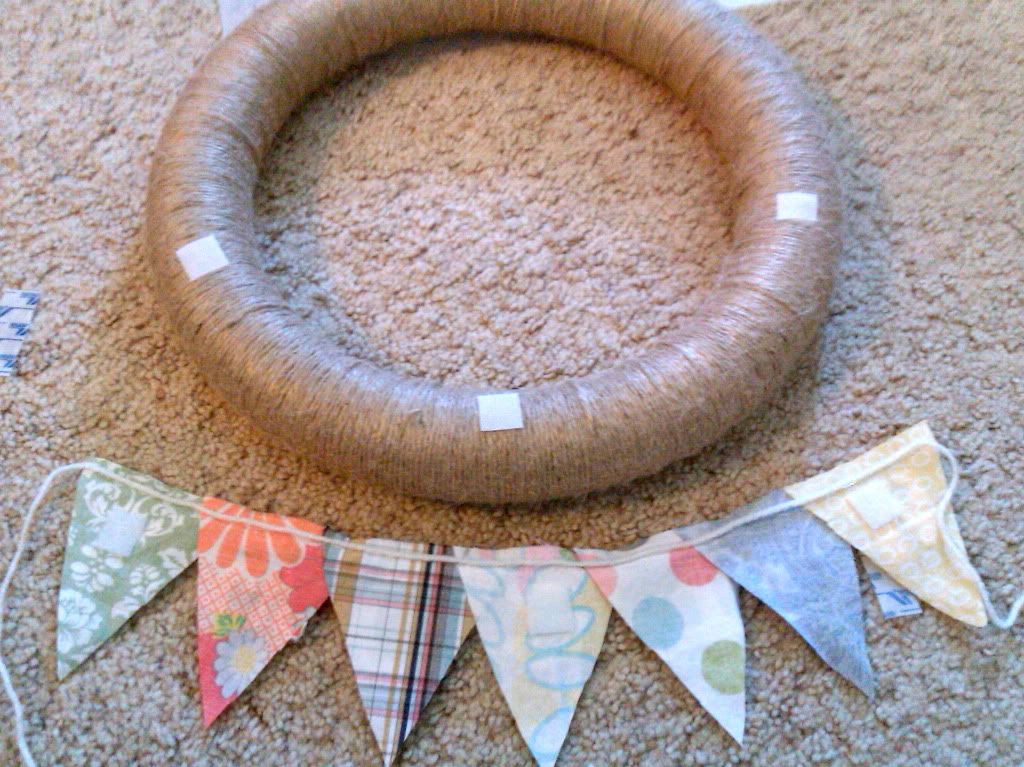
Added velcro to wreath and bunting.
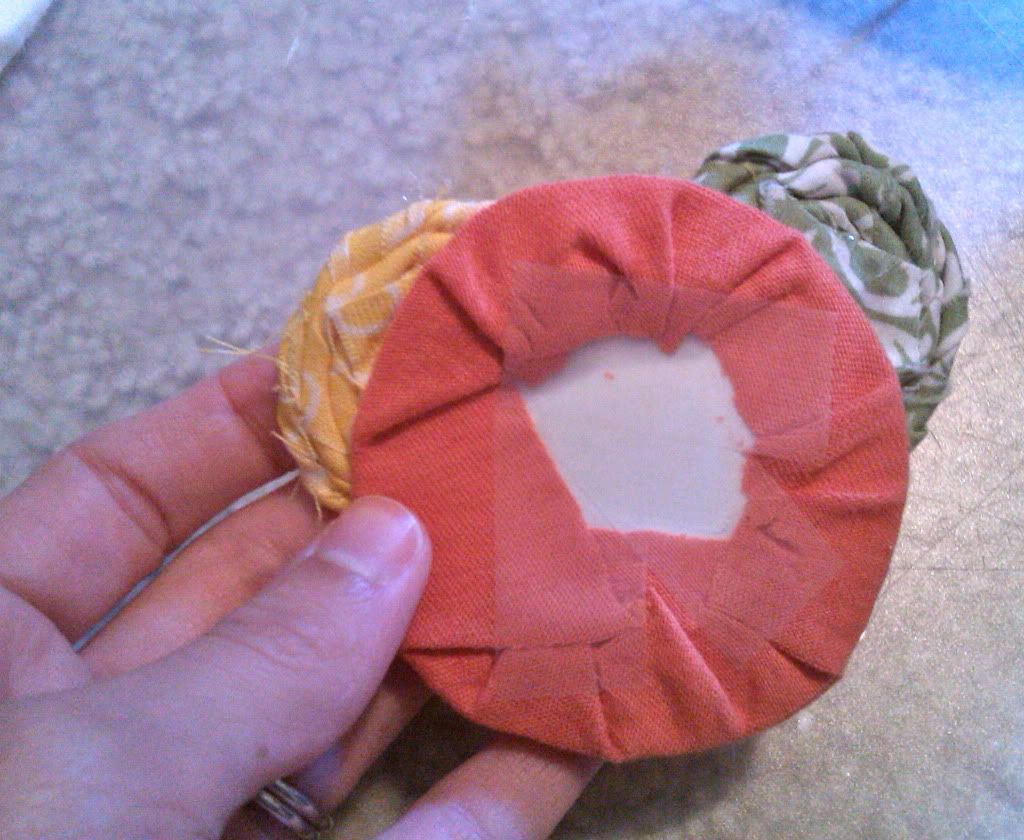
Didn't feel like making another rosette so I cheated by wrapping fabric around paper. Shhh, don't tell. : )
 
And viola! This is on the door at the top of the stairs coming into our place. (The house is split into two units so we have a front door on the ground level, but you immediately go upstairs and through this door)
One more picture because I actually bothered to bust out my camera for the final product.
If you made it to the end, thanks for hanging with me! Have a wonderful weekend!!
post signature

08 April 2011

Friday Fun - a few crafting oopsies

I thought everyone might enjoy a few funny pictures from when things didn't go exactly as planned.

First off we have hanging a picture frame.
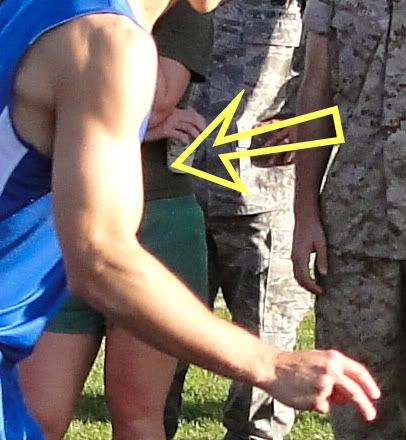
No, that is not how pushpins or nails are supposed to look. Our house has many different walls. You can't be sure which type you'll get until you start trying to hang something up. On some walls, nails go in really easily (probably too easily actually). Others chew up your nails and spit them out. We have no idea what this mystery material is, but when Hubs doesn't get the nail in you know it's the wall not the hammerer. I mean look at his arm...
And that's not even flexed! Anyway (he'd probably be totally embarrassed that this is online so moving on!) we've had better luck drilling a tiny hole and then putting the nail in.

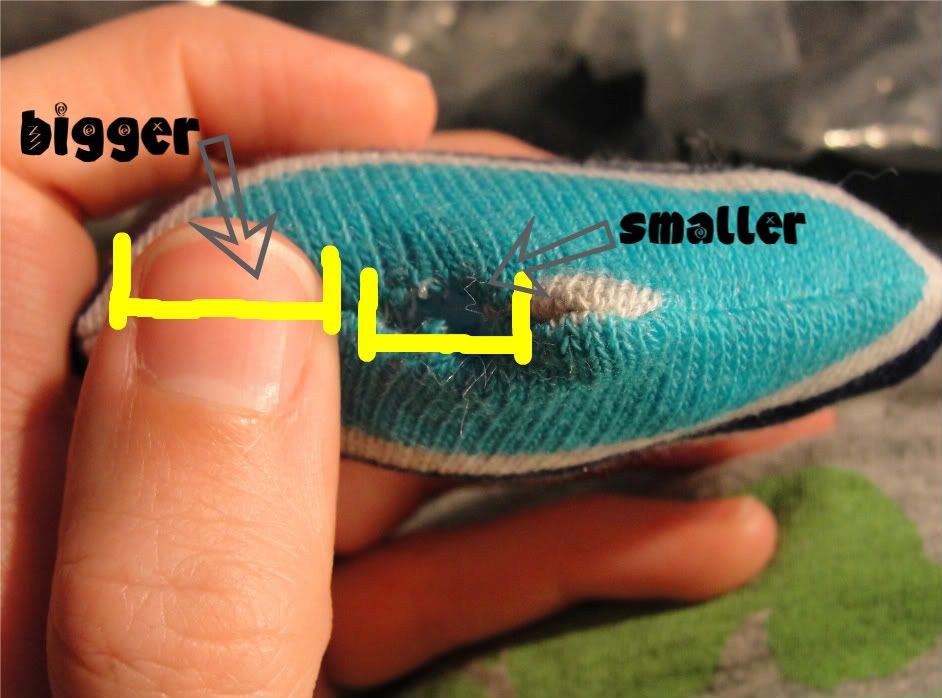
Another issue I run into pretty much every time I sew is leaving a hole for turning. For some reason I seem to think I can stuff something through a hole that is smaller than my pinky. No really, look at this hole that I had to fit stuffing through for a toy.
Smaller than my finger. If you couldn't tell, I went ahead and spelled it out for you. You're welcome : ) It's the same story with bags. I think I can stuff the entire thing through a 1-2" hole. When will I ever learn??

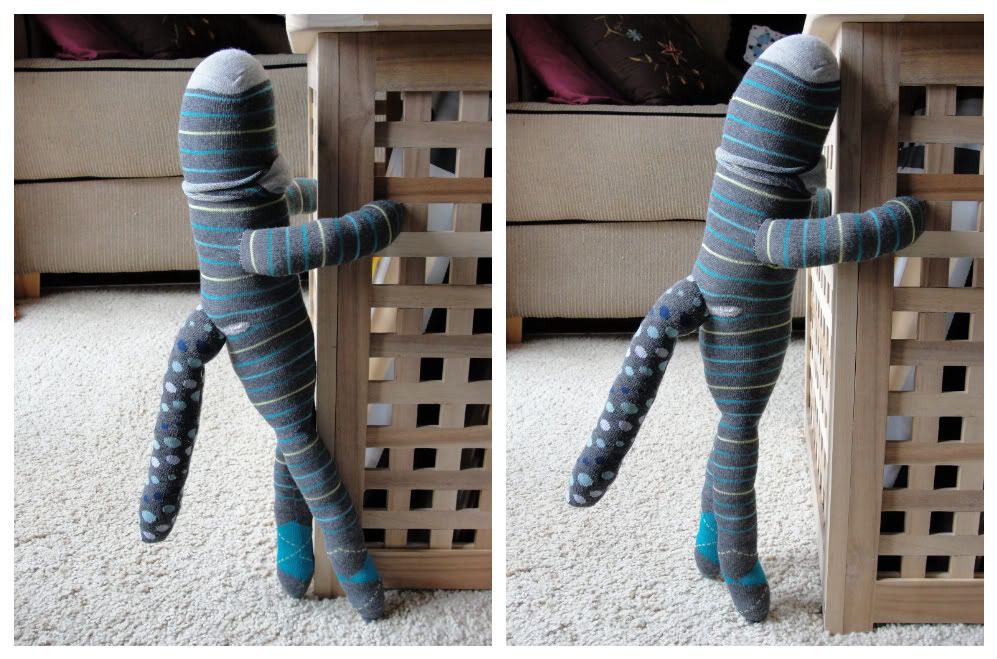
And finally, a sock creature disaster.
Oh, you don't think it's looks to bad (other than the unfinished face)? Well you haven't seen the back. Those with a weak stomach may want to turn away.
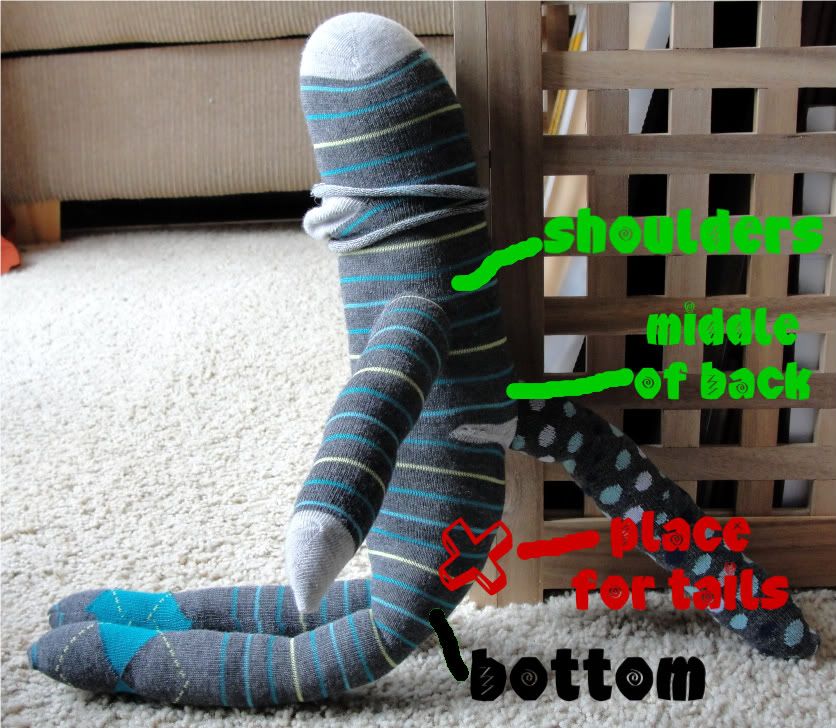
Ok so it's not horrible. But what kind of animal (even a fictitious sock animal) has a tail in the middle of its back? I can think of none. How did this happen? I wish I knew. Still not seeing the horror? Let me point out some landmarks to give a little reference.
Pretty sure he would have a sad face if he had a face right now. Perhaps a tail-ectomy would help this little guy. I guess I may be being a little over-dramatic about this oopsie, but I still don't think he's ready to be given to a child since they may be terribly confused about the random appendage coming out of his back.

Enjoy your weekend (and please leave adequate holes for turning)!

post signature


PS - just found out I won a giveaway at A Law Student's Journey! I don't think I could be more excited. And yes, I may have just done a little dance in my chair : ) More on this later!