31 August 2011

Did ya miss me??

I've been neglecting my blog a bit lately, and I do feel kind of bad about it. Hopefully I can pick back up on the frequency of my posts soon (although I can't make any promises since we may or may not be moving sometime in the next 2 months...yay for "planning ahead" in the military!).

I would show you a cute little skirt I made for my niece, but I forgot to take pictures of it. My bad. And it was way too big, so I won't have a picture of her in it for a while. Apparently I have no concept for how big or small babies are. It is really cute though! It's kind of along these lines:
But obviously much better. Hah! The fabric has tiny flowers on it and looks kind of vintage-y. I was in Memphis last week visiting family and meeting said niece. She's even better in person (although smaller) than I expected.
I kind of hogged her since I'm not there very much. Hopefully she didn't get too spoiled by me holding her even when she was napping sometimes : )
It was so much fun to see family and spend time hanging out (ok, she napped and I smiled at her because she's cute) with my niece!

In other news...I GOT A NEW SEWING MACHINE!?!  A Brother CS6000i (whatever that means). So I'm going from one stitch on my old Singer to 60! ...60!? What will I even do with all of them? I was so tired from the trip I didn't even open it when I got home last night.
But that didn't stop me today! I started reading through the instructions (boo!!) because honestly I don't even know where to begin with this thing.
I did find it funny that they pointed out you shouldn't drop or hit the machine if you want it to work well. Was that really necessary? I guess they're just covering all their bases (probably thanks to those people who sue because they burned their mouth on the coffee they ordered because it didn't say "Caution: Hot" on the cup).
I got all the way to page 16 (meaning I read how to wind and load the bobbin and thread the needle) before I threw caution to the wind and started trying out stitches! It's like magic people! Leaves, squiggles, asterisks, loops, criss-cross...you name it, the machine will do it! (Also, I need more thread. I didn't even have enough to completely fill a bobbin since these bobbins are bigger than my other ones.)
And now I need to get to work on the sewing table so I have somewhere other than the living room floor to put it. Any thoughts on what my first project with the new machine should be?? I have more projects than I can make several projects pinned on some of my Pinterest boards, but I haven't picked anything yet.
post signature

19 August 2011

Banana Chocolate Chip Bread

I'm mixing things up today with a recipe. Hubs has been begging asked me to make some banana bread since he seems to consistently buy two more bananas than he can eat before they go bad (maybe that's his way of hinting at banana bread haha). But not just any banana bread, he also asked for peanut butter, chocolate chips, and protein powder. If you knew Hubs, you'd know that's a pretty typical request. Let's just say he likes to experiment.
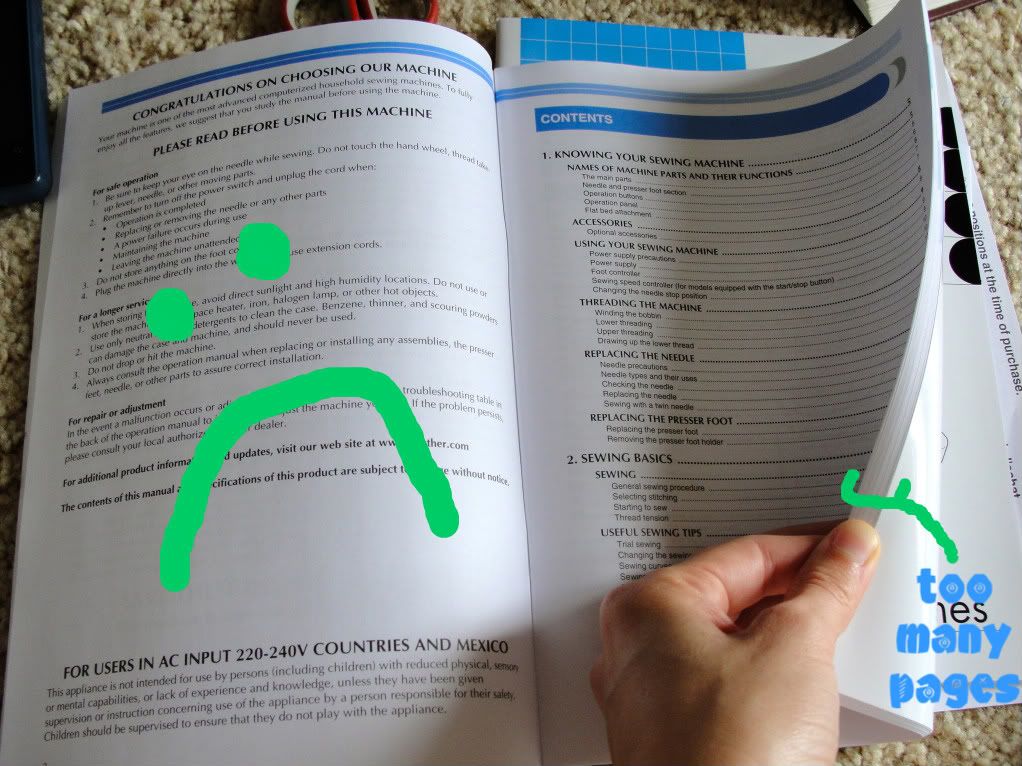
The pictures aren't the best because I didn't think to take any until I was already in the middle of everything so I just used my cell phone. I based this off of a Betty Crocker recipe, but I think the eggs, baking soda, and salt are the only things that remained the same so I don't feel bad about sharing my recipe. That and Hubs said it might be the best banana bread he's ever had, so I had to share.

Ingredients:
  • 1/4 c unsweetened applesauce (mine was actually unsweetened cinnamon applesauce)
  • 1/4 c creamy peanut butter
  • 1 1/4 c Splenda (actually calls for sugar but we were out)
  • 2 eggs
  • 1 1/2 c mashed ripe banana (you know the brownish ones that no one wants to eat)
  • 1/2 c buttermilk (or 1/2 TBS white vinegar + enough milk to make 1/2 c and let sit for 5 minutes - that little substitution is compliments of Betty)
  • 1 tsp vanilla
  • 2 1/2 c  whole wheat flour
  • 1 tsp baking soda
  • 1 tsp salt
  • 2/3 bag of chocolate chips (or something like that, just add until you're happy with the chip level)
Mix the applesauce, pb, and Splenda until smooth. Add eggs and mix. Then add banana, buttermilk (or substitute), and vanilla and stir.
Add the dry ingredients and stir until everything is moist. I used a spoon rather than a mixer to avoid over-mixing. Now add the chocolate chips and stir them in. I promise there really isn't that much stirring/mixing, but apparently I just don't know many synonyms for stir.
Grease the bottom only of a pan. I used 8x6. No, not any kind of loaf pan. Somehow I've made it years without one so I didn't feel like getting one now. And I wasn't feeling a bunch of mini loafs (I do have those pans they just seem to take forever to bake). Bake at 350 degrees with the rack in a low position so the top of the pan is in the center of the oven. It only took about 45 minutes to cook, but keep an eye on it after about 30 minutes if you use the 8x6 because the outside started to get a little darker about that time.
And this little guy kept visiting the kitchen window. I'm pretty sure he could smell the bread because he came right up to the window even though I was standing there taking his picture with my cell phone like a crazy lady.
 Finished giganto loaf!
Oh, if you're wondering where the protein powder was in all of that, it's still up in the cabinet. With all of the other substitutions I completely forgot about it. So I have no advice for you on that front, sorry. It's a good thing I took a picture as soon as it came out of the oven since we polished off the entire loaf as snack + dinner.

If anybody has any extra cooking motivation laying around (or recipes for dinners that leave you with fewer dirty dishes than you started with), please send it my way. I've been seriously lacking in the cooking department lately and these other bananas aren't baking themselves.

And the winner of the Uprinting giveaway is Emilee (picked by random.org)! Congrats!! I've already contacted Emilee, so she'll be rolling in custom postcards soon.
post signature

17 August 2011

Uprinting Giveaway!

**Giveaway is now closed**
Today is a first for my little blog. A giveaway!! Uprinting.com has a ton of products available for you to customize and have printed, and they're giving one of my readers free postcards! I recently won some labels from Uprinting.com and I love how they turned out (you can see them here)! (Too many exclamation points? Sorry I'll try to contain my excitement...)
Uprinting offers cheap postcard printing. You could use these to let people know you've moved, as thank you notes, birth announcements, or even holiday cards. The possibilities are pretty much endless. To get you started, Uprinting has postcard templates you can download. They have all the major types of files (Photoshop, Microsoft Publisher, jpeg, as well as four others).

When I'm creating something I'm usually pretty indecisive (just ask Hubs or my sister...after rolling their eyes they'll tell you it's true, I ask them way too many times for their opinion during a project). Uprinting must know there are other people like that because they also have a whole page dedicated to ideas and tips for postcard design. They also have several examples on that page to get your creative juices flowing.

So here are the details:
One (1) Winner will win 100 Postcards*
Postcard specs:
5" x 7"
14pt Cardstock Gloss
No Folding
Front Only Printing
2 Business Days Print Turnaround Time

*Winner must be a US resident 18 years old and above

How about that 2 day turnaround time!? So here's how you can win:
  1. Follow Love Endures All Things (if you don't already, there's a button on the right side!) and leave a comment telling me what you might use the postcards for.
  2. Share this giveaway on Facebook and leave a comment letting me know.
  3. Share this giveaway on your blog and leave a comment letting me know.
So you have up to 3 chances to win! Please make sure you either leave your email address in your comment or have it linked to your profile. (Sounds like a silly reminder, but I often have people comment with a question and I have no way to answer their question because their email address isn't in their profile.) If your email is not available I won't be able to contact you if you win! The giveaway will be open until August 19 at 10am Pacific. Good luck!!
post signature

Disclaimer: This giveaway is sponsored by UPrinting, an online printing company, no monetary compensation was given and I will receive postcards for hosting. See more information about postcard design and other postcard templates on UPrinting.com.

10 August 2011

3 for 1

Since I've been neglecting my poor blog lately you get a 3 for 1 post. Lucky you (I think). Saturday I ran my first 1/2 marathon! I've been training with a friend from church and we ran it together. I'm glad I had someone to run with because I don't think I would've stuck to the training schedule without a running partner. I was excited to finish (that was the farthest I've ever run) and we even finished near our ideal goal time.
I haven't decided yet whether to shell out the $13 for a print or $30 to download the picture (can you say rip-off??) so for now you get the tiny, poor quality, watermarked version. That's probably best though since I found out I'm not a very photogenic runner (this is the only one I wasn't embarrassed to put online even though my hair appears to be growing out the side of my head).

Other than that it was a lazy weekend for me. When we were driving home from church on Sunday we decided to stop at a garage sale. That turned out to be a great idea! There was a sewing table up front for only $20!
The outside could use a little TLC, so I'm thinking about painting the whole thing. (Thankfully those spots on the front aren't bubbles in the finish, just discolored so I'm hoping I won't have to do very much sanding) What I like most about it is the storage on the inside!
Check out all of those drawers! I'll have to find some way to cover the hole because I'm planning to get a new sewing machine and a new sewing machine won't fit in the hole. I'm looking for a little painting advice though. I have no idea where this guy will reside after we move (and move again) later this year. So should I go with a neutral color in case it winds up in our bedroom again or go with a fun color for an office/craft room? (I won't necessarily go with any of these colors, but I am liking the teal right now)
I plan on painting one of the fold-out sides with some leftover chalkboard paint so I can jot down measurements during a project! (Can you tell I'm excited about that part because I am!) I always end up using a tiny scrap of paper that gets lost sometime in the 3 weeks days it takes me to finish a project.

In other news I got some labels from Uprinting.com last week. I won a giveaway from Mrs. Yellow Ribbon (thank you!!) and got to make 250 free labels. I went with Christmas tags and it was fun getting to come up with a design. You pretty much start from scratch and can upload images and add text to the label.
(Umm no, they don't really say hubs & susan, but I want hubs to remain anonymous so you'll just have to trust that they look better in real life without my computer coverup job)

I love how they turned out! The tools they give you to work with are very basic, but if you already have a design created on your computer you can just upload the image and you're ready to go. We wrap our presents in brown paper every year and usually I stamp the to/from info on the package. I was excited to find a font that's kind of close to the stamps I used. Hellooo less stamping and more free time around Christmas!

So what have you guys been up to this week? And what color should I paint my new table? And what...just kidding, I only had two questions. : )
post signature

08 August 2011

The patio chair lives!

Thanks to Jeff's idea, my chair was not a total bust. Yay! Weaving turned out to be the winning solution. (If you're lost, click here to see the chair fail last week.)
I'm so happy that the chair could be rescued. I never like to see a project totally fail because I hate wasting pretty fabric time and/or money.

As I was desperately trying to come up with a solution for the last disaster, I attempted sewing velcro onto the chair seat kinda like this.
That didn't work. At all. Maybe it would've worked if I only weighed 50 pounds or something. I wasn't sure if I had enough fabric left to weave the second chair seat, so I briefly tried just velcro-ing the first attempt on top of the existing seat. It looked a little funny since it didn't match the woven chair so I didn't so with that. That and Hubs didn't like it and said I needed to weave both of them if it was going to look right (I agreed, I was just trying to avoid extra work).

I did end up having enough to weave the other seat (yay!), so we have two chairs again! We've actually had two chairs again for almost a week, I've just been terribly slow trying to keep up with the blog lately.
Don't they look great on our new balcony? I don't think I have a before picture of the balcony, but let me assure you the new tile and railing are an upgrade (and more structurally sound)!
Now I'm just waiting for it to make it above 65 degrees (I know, please don't hate me) so I can enjoy it without a jacket! Not holding my breath though since it probably won't make it until next month. Also, if you need a break from the heat, come to central CA and you can freeze in the Pacific Ocean and wear a jacket all summer.

Oh, and if you want tips on weaving a chair seat out of fabric I would suggest going to the chair weaving tutorial at First a Dream. I read through that before I started mine and it was helpful. I made my strips quite a bit wider than hers so it really didn't take me very long.
post signature

02 August 2011

Patio Chair Redo...or Redon't

In case you think you might be the only person that has DIY disasters, this post will reassure you that everyone gets in way over their head sometimes...

After starting this project I quickly discovered I really didn't know what I was doing. I've had these two patio chairs for probably four years and they were beginning to show their age.
The fabric along the seams of the seat was starting to separate.
For fabric that was literally thread bare, it was ridiculously hard to get off. As I was trying to get the fabric off in one piece (so I could copy the size) I also found those chairs were reeeally good at hiding dirt (and one spider, eek!).

I won't dive into all the dimensions and details since the chances of somebody having the exact same chairs is kind of slim (that and I really have no idea what I'm doing). I cut the new fabric (that my sis got me for my bday!) based on the size of the fabric I took off of the chair. Does anyone else's living room look like this during a project?
This is a preview of what I was hoping for...thanks to some strategically placed chip clips. : )
Things were going pretty well, I got the back of the chair connected and even managed to find 2 of the screws that disappeared somewhere along the way.

Unfortunately that's the end of the good luck on this project. I couldn't get the cross bars off of the bottom (who uses a totally round screw anyway? It's absolutely impossible to remove) so my plan to sew first and then slide the seat fabric on went down the drain.
So for the moment this is the chair.
Not awesome. I'm just glad I didn't take both chairs apart, so one person can still sit on the balcony! I'm not exactly sure where to go from here. I'd really like to have 2 chairs again. I thought about trying to fashion some kind of hard platform for the seat and then make a cushion out of the fabric...or something. Any ideas?
post signature