(source)
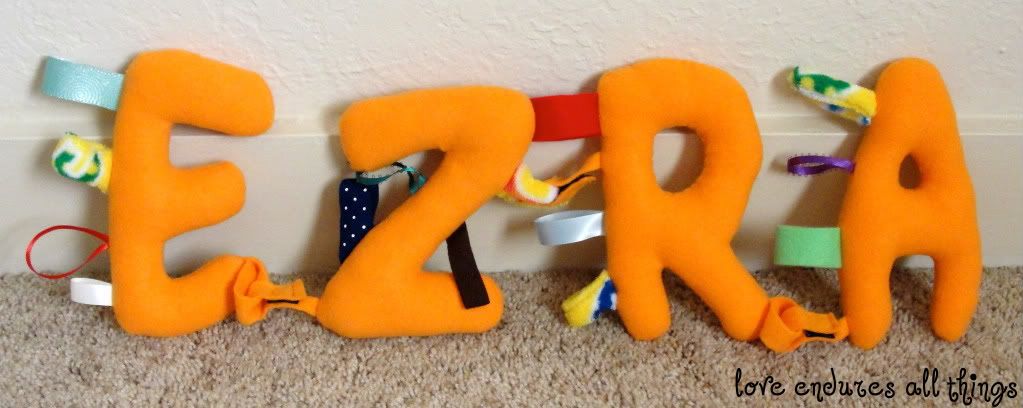
Thank you Google Images. I kind of remember seeing an idea that was like a taggie blanket, but just an initial. I liked that, but I thought I could do something a little different.
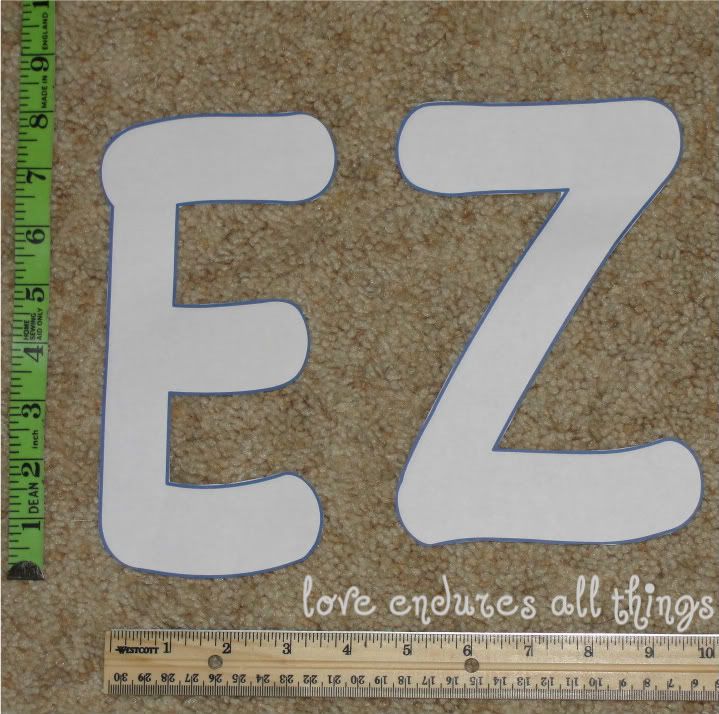
Sorry I don't have more in-process pictures. Sometimes I get started and forget about blogging/picture taking until I'm done. (That and I didn't decide whether I would post this or not until this morning : ) Then cut little ribbons and pieces of fabric and felt to your little heart's content!
Pin everything together like this: letter piece 1 (right side up), ribbon with ends sticking out, letter piece 2 (right side down). Maybe that made sense? I briefly thought about bringing in one of my masterful paint drawings to help explain, but in
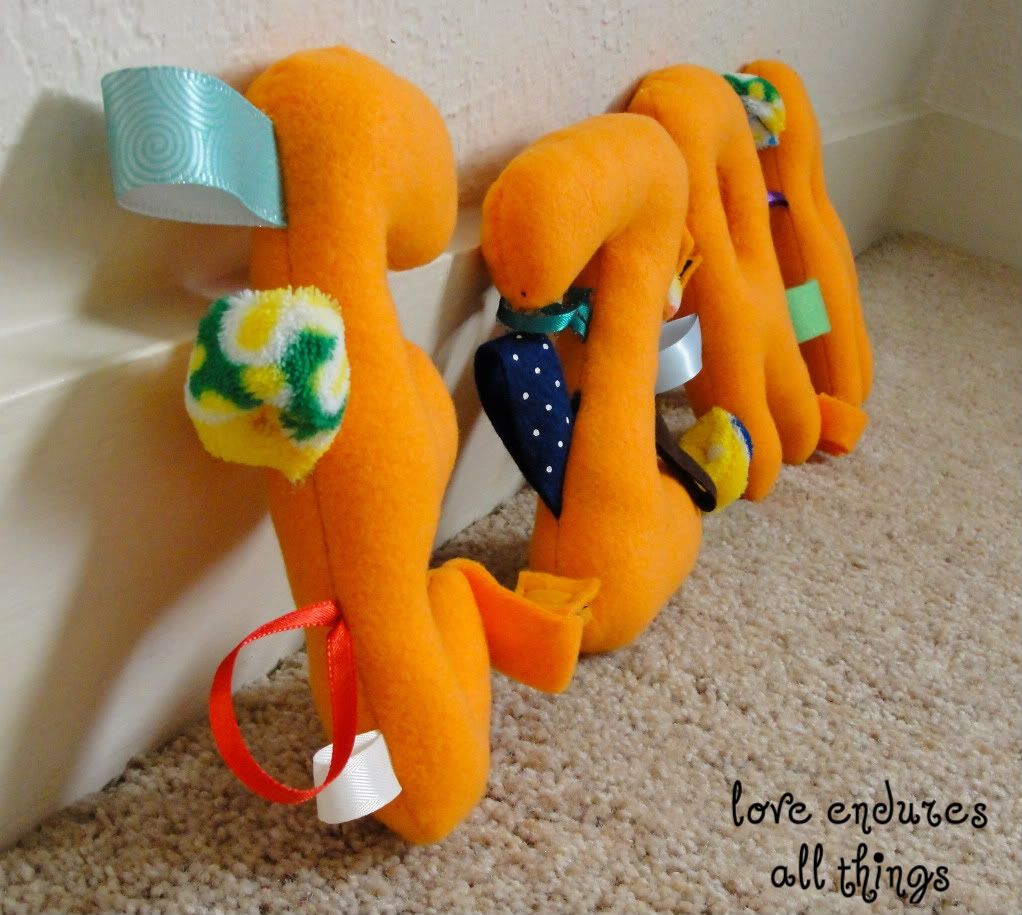
Stuff, sew up the hole, and you're done! I don't remember how long this took me, but I don't think it was a really long time (wow, so helpful of me to share that piece of information, I know). Here's a side view so you can see the stuffed puffiness of it.
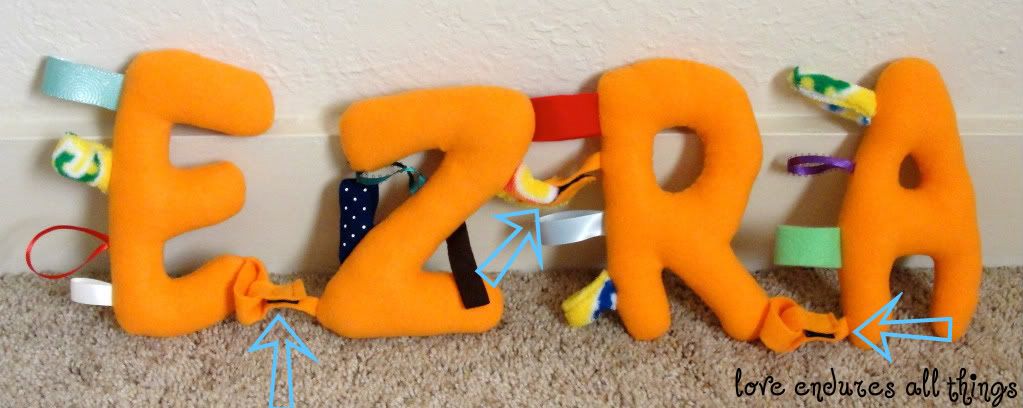
I thought it would be fun to be able to take them apart and put them back together. Plus, this way if he decides to change his name to Zera or Raze this gift still totally works. Hah!

I LOVE this!!! What a great idea.
ReplyDeleteAwesome idea! I love how they link together. Thanks for auditioning for American Crafter- good luck:)
ReplyDeleteLove that! My sewing skills are no where near yours or I would be attempting this when I have my sewing machine back.
ReplyDeleteI wish I was crafty! I am the person who buys it already made.. LOL.
ReplyDeleteI love the letters! they are so great. very cool. great blog too!
ReplyDeletenew follower!
kathryn
www.thedragonsfairytail.blogspot.com
So Adorable!!
ReplyDeleteI would love it if you would link it up to our What I Made Wednesday Linky Party!!
Also, stop in for a chance to win our 100 Follower Giveaway {{Beaded Watch & Hobby Lobby Gift Card}}
Alisa
Sweet Peas and Bumblebees
sweetpeasandbb.blogspot.com
These are so cute! Very creative!
ReplyDeleteI'm visiting from Tatertots and Jello's party. It's a pleasure to find your blog!
Have a great day.
Pam
stopping by from tatertots and jello. such a great idea. and a cute name!
ReplyDeleteVery cute! I love that you did all the letters!
ReplyDeleteI also love how you did all the letters.
ReplyDeletelisa