So I'm going to run through the last steps to finish the quilt then I'll post these on the tutorials page and you'll never have to read about my quilt quest again. : )
I think I mentioned before that the back for my quilt came from a king size set of jersey knit sheets on clearance at Target. I wanted the fabric on the back to be similar to tshirt fabric, so this was perfect. And my Beverly's doesn't carry jersey knit fabric on bolts (meaning there's a pile of random fabric and I would've been in luck only if I wanted fabric with apples on it or purple with glitter stripes but not so much otherwise). I laid out the flat sheet over the tshirts and (after much positioning and repositioning) cut it down to size.


Next I cut the batting down to size. A little side story about the batting (or bantam according to my husband, I have no idea where he got that!?). I found some Warm and Natural batting for a full size quilt online at Walmart for $8! I had that in my shopping cart faster than you can say, "Warm and Natural for less than half price." I had it shipped to our "local" (10 miles away if you can believe that) store and it finally came in this week. I went to pick it up and they brought out a small box...a box wayyy too small to contain any batting. Then I picked the box up and it weighed less than a pound - not good. Too bad the guy "helping" me had no clue what batting was and was trying to tell me that this was my order (a Cuttlebug stamp was inside, which is nothing at all like batting). Long story short, or at this point just slightly less long (sorry), I returned it and bought some cheapo batting at Walmart.


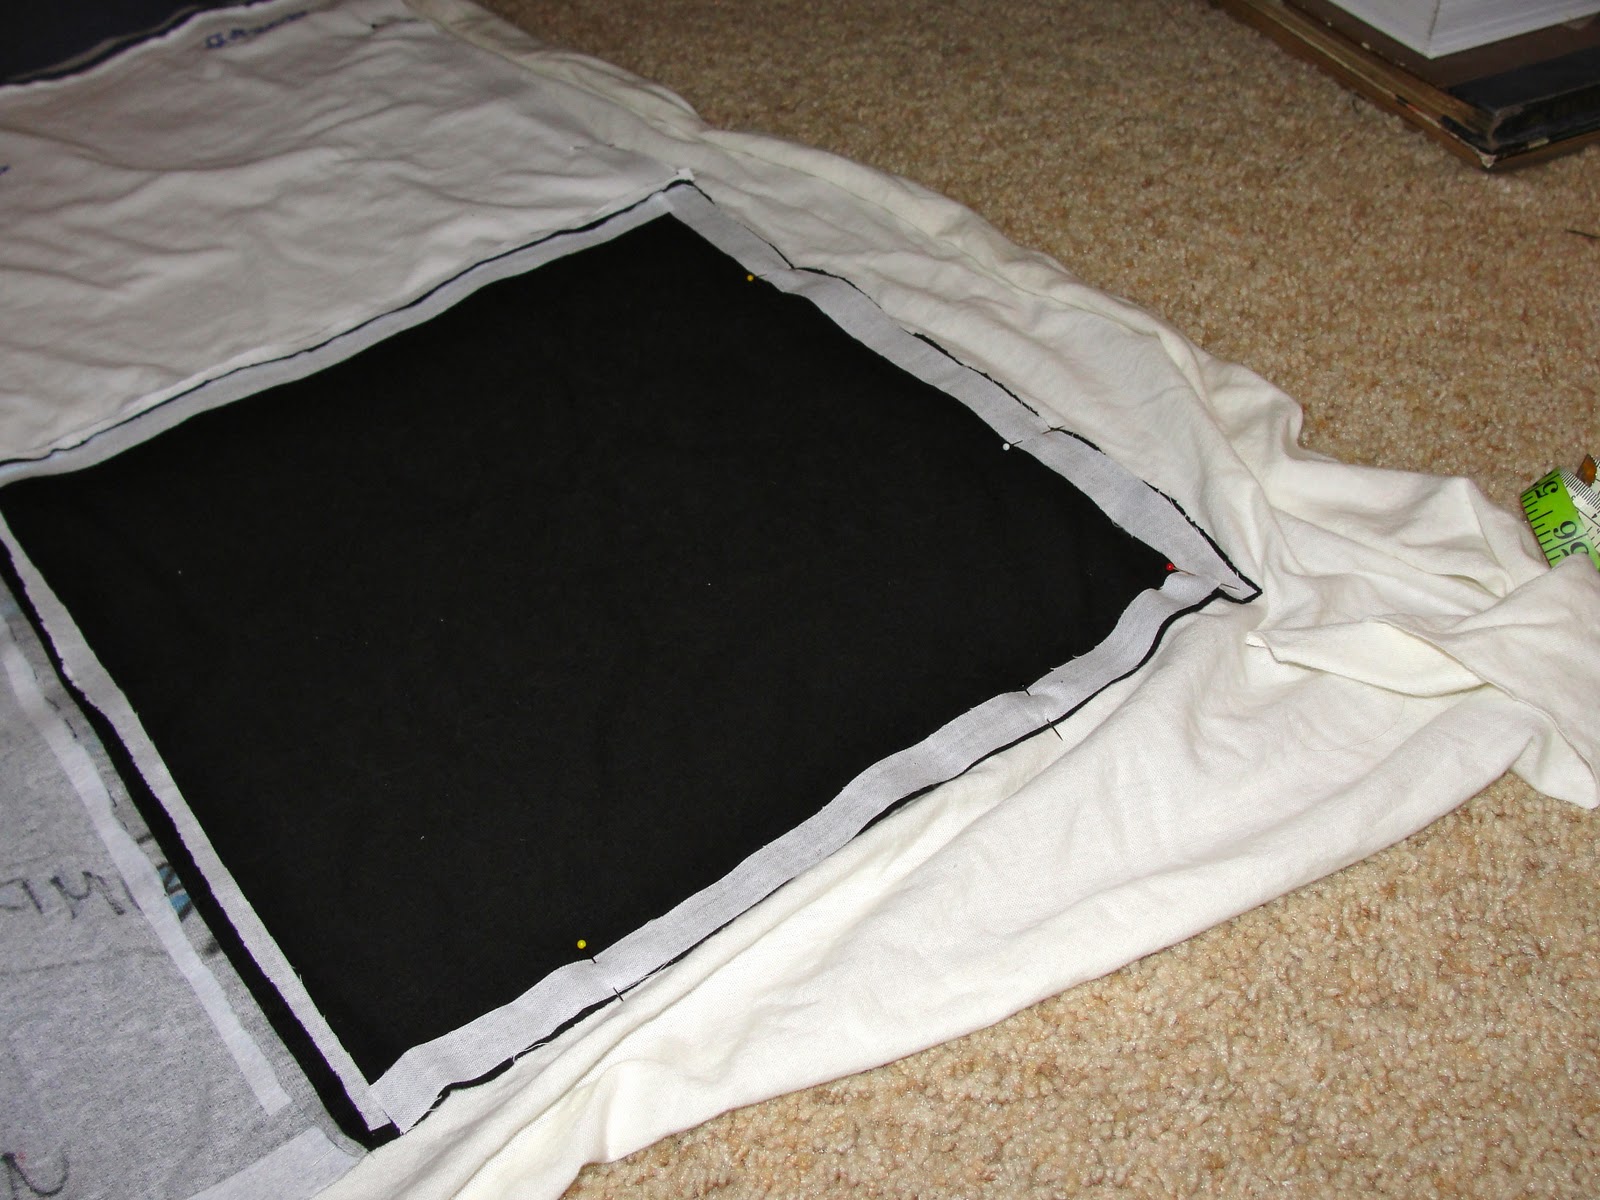
I had some trimming up to do - originally I was thinking maybe I would have like 2 inches of the backing show around the edge on the front of the quilt, but my sewing/calculating skills wouldn't allow for that. : )


Clip corners and press seams (ugh). As I'm writing this (and still haven't pressed the seams) I'm debating on whether to just tie the quilt by hand at the corners of the tshirts or go ahead and stitch all the way down each row and column. I ended up not exactly pressing all of the seams...do you have any idea how hard it is to press seams that involve batting? You may have better luck if you trim the batting really close to the seam after you sew everything together (but mine turned out fine and I skimped on the pressing and didn't trim).


I take no responsibility for the painting on that wall. It is my husband's and despite my many attempts to hide it, it's still hanging prominently in the living room.


Go you! I am impressed. I can't IMAGINE completing a project of that size!
ReplyDelete